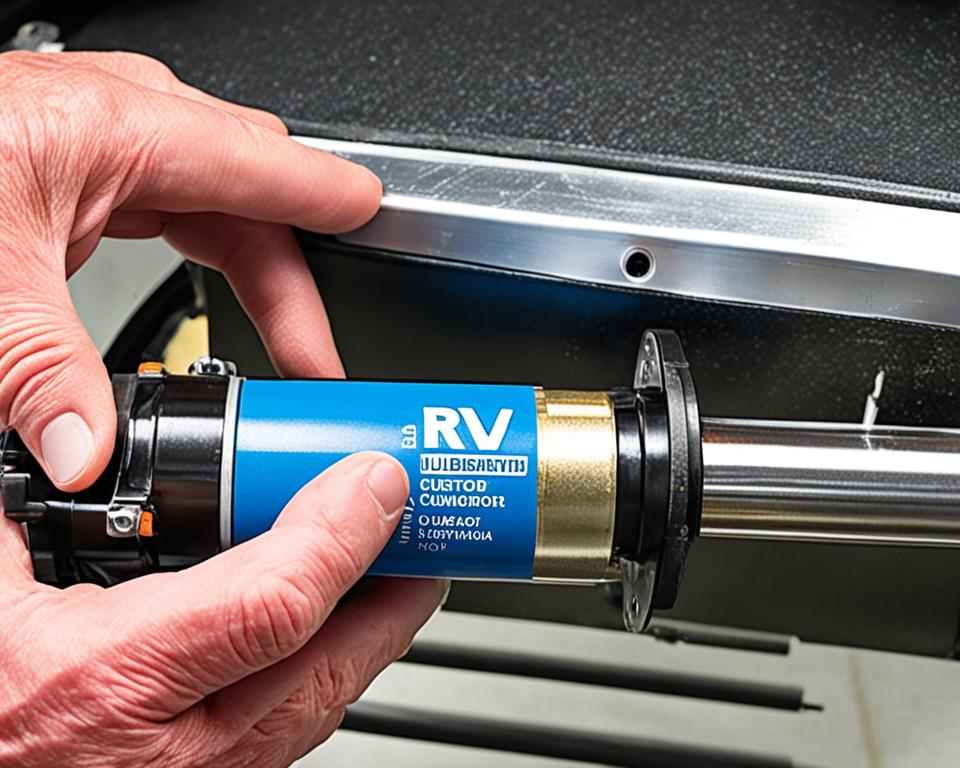
Winterizing your RV plumbing is a crucial step to protect your RV’s water system from potential damage caused by freezing temperatures. Failure to winterize or improper winterization can lead to frozen and damaged water lines, which is a common problem. Follow these 7 easy steps to winterize your RV plumbing system.
Key Takeaways:
- Winterizing your RV plumbing is important to prevent damage from freezing temperatures.
- Improper winterization can lead to frozen and damaged water lines.
- Follow the recommended steps to properly winterize your RV plumbing system.
- Gather the necessary items before starting the winterization process.
- Consult your RV owner’s manual for specific guidelines on winterizing icemakers and washing machines.
Items Needed for Winterizing Your RV Plumbing
Before starting the winterization process, gather the necessary items. You will need the following:
- Non-toxic RV/Marine antifreeze (2-3 gallons)
- Basic hand tools for removing and installing drain plugs
- A water heater by-pass kit (if not already installed)
- A wand for cleaning the black water holding tank
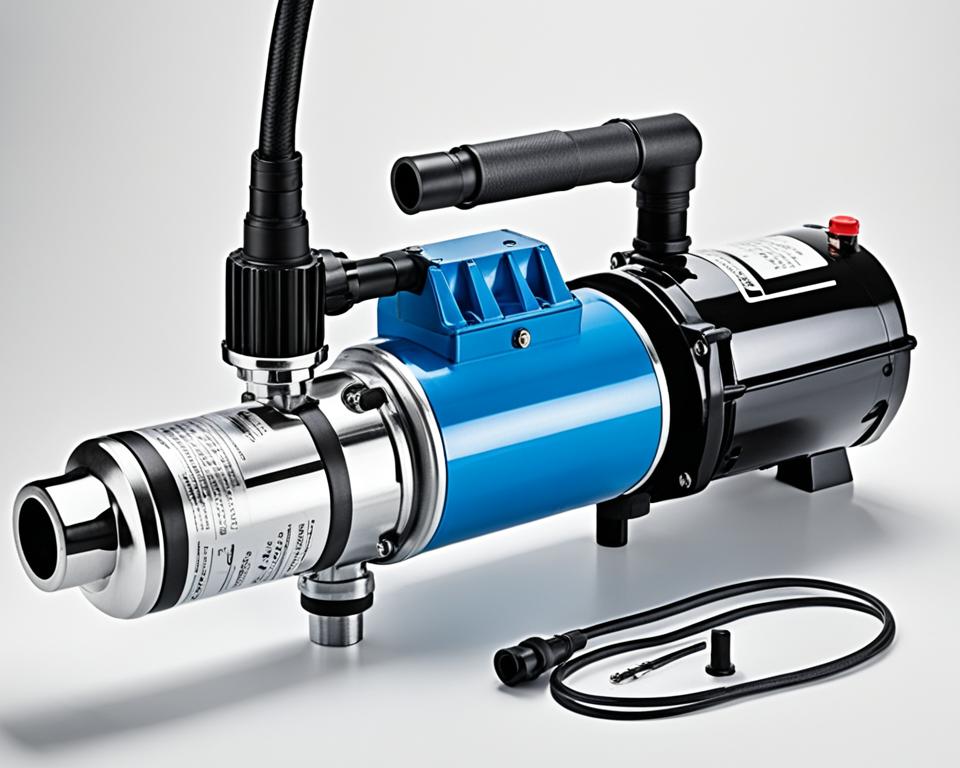
- A water pump converter kit or tubing to connect to the water pump
Note: It is important to choose non-toxic RV/Marine antifreeze specifically designed for winterizing your RV plumbing system. This antifreeze is safe to use in your plumbing lines without causing any harm to the environment or your health.
Having these items ready will ensure that you can efficiently and effectively winterize your RV plumbing system and protect it from potential freeze damage during the winter months.
Step 1: Drain and Flush the Water System
Before winterizing your RV plumbing, it’s important to properly drain and flush the water system. This step ensures that all water is removed from the system to prevent freezing and potential damage. Follow these steps to complete the first stage of winterizing your RV plumbing.
1. Remove and Bypass Inline Water Filters
Prior to draining the water system, you should remove and bypass any inline water filters. This prevents antifreeze from reaching the filters and potentially causing damage. Refer to your owner’s manual for the location and removal instructions specific to your RV’s filters.
2. Drain the Fresh Water Holding Tank
Begin by draining the fresh water holding tank. Locate the drain valve or spigot for the tank and open it. Allow the water to flow out completely into an appropriate drainage area. This step ensures that there is no water left in the tank that could freeze during the winter months.
3. Drain the Gray and Black Water Holding Tanks
In addition to the fresh water holding tank, it’s essential to drain the gray and black water holding tanks. These tanks store wastewater from sinks, showers, and toilets. Locate the drain valves or spigots for each tank and open them. Ensure that all wastewater is drained completely to prevent freezing and potential damage to the tanks.
4. Clean the Black Water Holding Tank (if necessary)
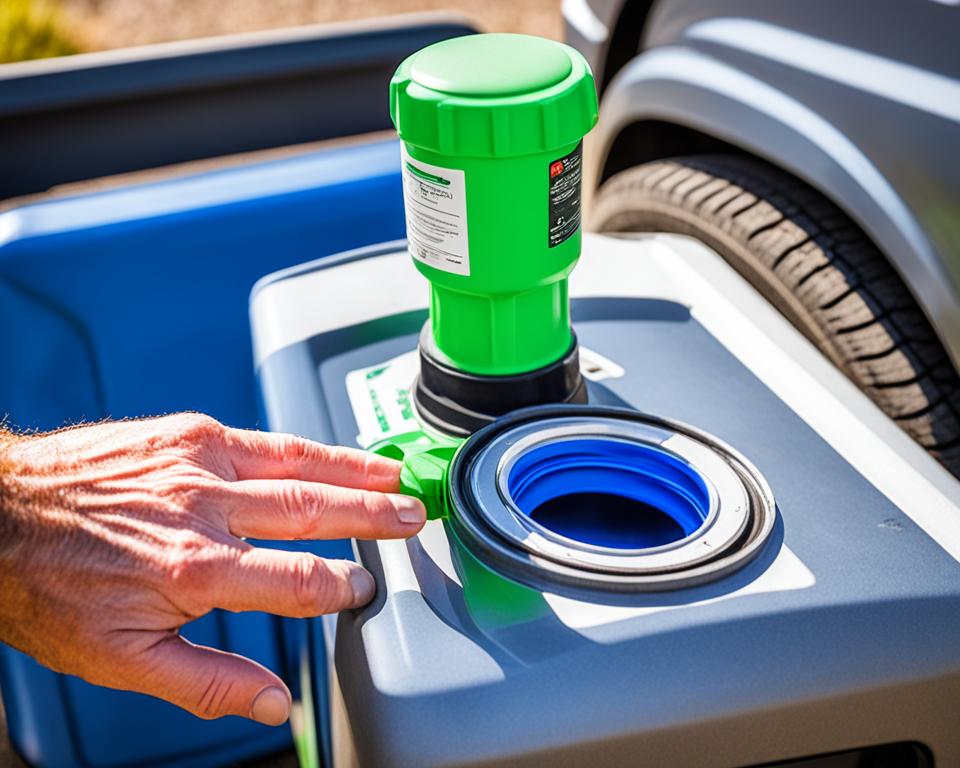
If your RV does not have a built-in flushing system for the black water tank, it’s important to clean it out manually. Use a wand specifically designed for this purpose to flush water into the tank and remove any remaining waste. This step helps prevent buildup and ensures the tank is thoroughly cleaned before winterizing.
5. Drain the Water Heater
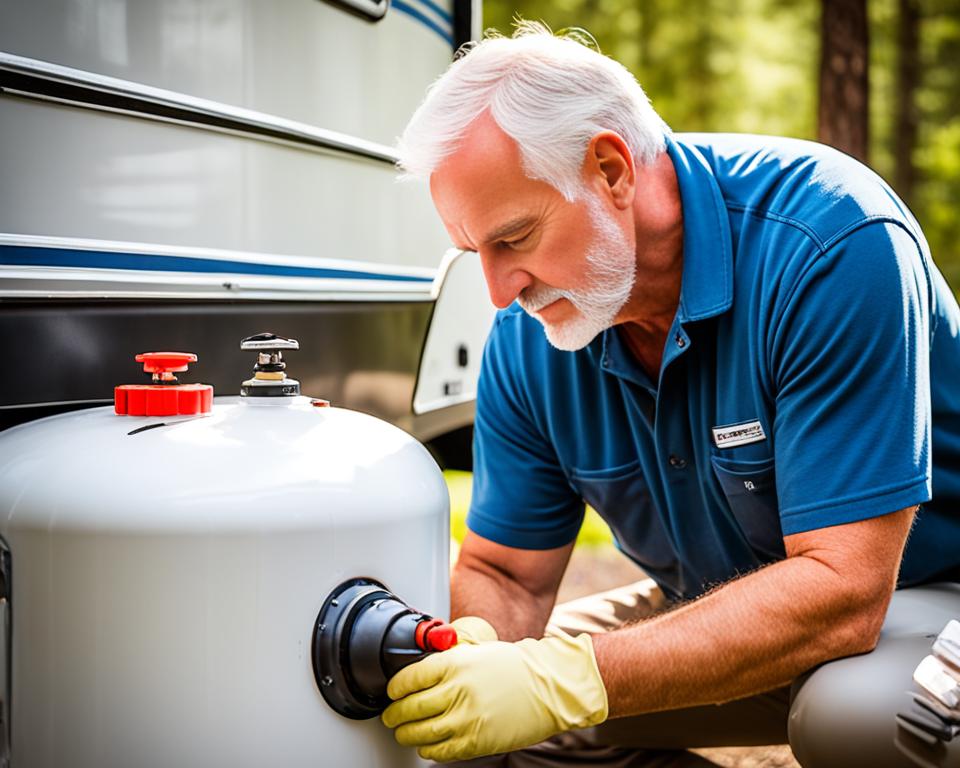
The final step in draining the water system is to drain the water heater. Begin by opening the pressure relief valve to release any built-up pressure. Next, locate and remove the drain plug from the water heater. Allow the tank to drain completely. It’s important to follow safety precautions and ensure that the water heater has cooled before attempting to drain.
By following these steps, you can effectively drain and flush the water system in your RV. Removing any inline water filters, draining the fresh water holding tank, gray and black water holding tanks, and draining the water heater are crucial to prevent freezing and potential damage during the winter months.
Step 2: Open Faucets and Drain Lines
After draining and flushing the water system, the next step in winterizing your RV plumbing is to open the faucets and drain lines. This crucial step ensures that no water remains in the system, reducing the risk of freezing and potential damage.
To begin, open all hot and cold faucets throughout your RV, including the toilet valve and outside shower. This allows water to flow freely and aids in removing any remaining water from the lines. It’s important to open all faucets to ensure a thorough drainage process.
In addition to opening the faucets, locate the low point water drain lines in your RV. These drain lines are designed to remove water from the system’s lowest points, preventing any trapped water from freezing and causing damage. Open the low point drain lines to ensure complete drainage.
To facilitate the removal of water from the system, you can also utilize the water pump. Turn on the water pump, and it will help force most of the water out of the system. However, once the system is drained, remember to turn off the water pump to avoid any potential damage to it.
After draining the system, recap all the drains and close all the faucets. This step helps to prevent any contaminants from entering the system during winter storage and ensures that your RV plumbing remains protected throughout the cold season.
| Step 2: Open Faucets and Drain Lines |
|---|
| 1. Open all hot and cold faucets, including the toilet valve and outside shower. |
| 2. Locate and open the low point water drain lines. |
| 3. Use the water pump to help force most of the water out of the system, but remember to turn it off once the system is drained. |
| 4. Recap all drains and close all faucets. |
Step 3: Bypass the Water Heater
If your RV doesn’t have a by-pass kit installed, it’s recommended to bypass the water heater to prevent wasting antifreeze. By bypassing the water heater, you can save 6 to 10 gallons of antifreeze. Install a water heater bypass kit or disconnect the inlet side of the water pump and connect tubing to a one-gallon jug of RV antifreeze.
Why bypass the water heater?
The water heater bypass is a vital component in your RV plumbing system when it comes to winterizing. By bypassing the water heater, you eliminate the need to fill it with antifreeze. This not only saves you money and antifreeze but also makes it easier to winterize your RV plumbing system overall.
| Benefits of water heater bypass: | Without water heater bypass: |
|---|---|
| Save 6 to 10 gallons of antifreeze | Requires additional gallons of antifreeze |
| Reduces the amount of antifreeze needed | Increases the cost of winterizing |
| Simplifies the winterization process | Complicates the winterization process |
Without a water heater bypass, you may find yourself using excessive amounts of antifreeze and spending more time on the winterization process. Installing a water heater bypass kit or using an alternative method to bypass the water heater is a smart choice for efficient and cost-effective winterizing.
Step 4: Connect to Water Pump and Pressurize System
To ensure your RV plumbing system is protected from freezing temperatures, it’s crucial to properly connect the water pump and pressurize the system using RV antifreeze. Follow these steps to complete this important task.
First, you will need a water pump converter kit. Alternatively, you can use tubing to connect the inlet side of the water pump to a one-gallon jug of RV antifreeze.
Once you have the necessary equipment, follow these steps:
- Install the water pump converter kit or connect the tubing to the water pump.
- Ensure the water pump is turned off.
- Place the other end of the tubing into a one-gallon jug of RV antifreeze.
- Turn on the water pump to pressurize the system.
- Starting with the closest faucet, slowly open the hot and cold valves.
- Continue opening the valves until you see the pink-colored RV antifreeze flowing out.
- Repeat this process for all faucets, including the outside shower.
- Replace the antifreeze container as needed.
Step 5: Flush Toilet and Protect Holding Tank
After draining and flushing your RV’s water system, it’s essential to take steps to protect the holding tank and prevent any remaining water from freezing. Follow these simple instructions to ensure the safety of your RV plumbing during winter storage.
To start, flush the toilet until you see antifreeze appearing. This step helps remove any residual water from the toilet bowl and trap. Additionally, it allows the antifreeze to enter the system, protecting it from potential freezing.
Pour a cupful of RV antifreeze down each drain, including the sinks and shower. This precaution ensures that all the water within these lines is replaced with the antifreeze, leaving no room for freezing.
Note: Be sure to choose non-toxic RV antifreeze specifically formulated for this purpose.
To safeguard the holding tank, add RV antifreeze directly into the toilet bowl, then flush it down into the tank. This antifreeze creates a protective barrier, preventing any remaining water from freezing and causing damage.
If your RV has an electric heating element in the water heater, it is recommended to turn it off during storage. This precaution safeguards the heating element from potential damage and ensures it doesn’t consume unnecessary electricity.
Finally, close all faucets to prevent any accidental water flow and complete this crucial step of winterizing your RV plumbing system.
| Step | Instructions |
|---|---|
| 1 | Flush the toilet until antifreeze appears |
| 2 | Pour a cupful of RV antifreeze down each drain |
| 3 | Add RV antifreeze to the toilet bowl and flush it into the holding tank |
| 4 | Turn off the electric heating element in the water heater |
| 5 | Ensure all faucets are closed |
By following these steps, you will effectively protect your RV’s holding tank and minimize the risk of freezing and damage to your plumbing system during winter storage.
Step 6: Special Considerations for Icemakers and Washing Machines
During the winterization process, it’s important to pay special attention to icemakers and washing machines if your RV is equipped with them. To ensure these components are properly winterized, consult your RV owner’s manuals for specific guidelines. Following the recommended procedures will help protect these valuable appliances from potential damage caused by freezing temperatures.
Winterizing icemakers:
- Refer to your icemaker’s manual for specific instructions.
- Disconnect the water supply line leading to the icemaker.
- Drain any remaining water from the icemaker and its water lines.
- Follow the manufacturer’s recommendations for cleaning and maintenance.
- Store the icemaker in a protected area to prevent exposure to freezing temperatures.
Winterizing washing machines:
- Consult your washing machine’s manual for winterization guidelines.
- Disconnect the water supply hoses from the washing machine.
- Drain any water remaining in the hoses and the washing machine’s internal components.
- Run a cycle with a special washing machine cleaner recommended by the manufacturer.
- Turn off the water supply valves leading to the washing machine.
- Store the washing machine in a dry location to avoid freezing.
By following the manufacturer’s instructions and taking the necessary steps to winterize your icemaker and washing machine, you can ensure they will be ready for use when spring arrives. Proper winterization helps prevent damage and extends the lifespan of these valuable appliances, allowing you to enjoy the convenience they offer during your camping adventures.
| Considerations for Winterizing Icemakers | Considerations for Winterizing Washing Machines |
|---|---|
| Refer to icemaker manual | Refer to washing machine manual |
| Disconnect water supply line | Disconnect water supply hoses |
| Drain icemaker and water lines | Drain hoses and internal components |
| Clean and maintain as recommended | Use washing machine cleaner |
| Store in protected area | Store in dry location |
Remove or Bypass Water Filters
Before winterizing your RV plumbing, it’s important to remove or bypass any inline water filters. The antifreeze used in the winterization process can damage these filters, so it’s best to take them out temporarily. Additionally, this is an opportune time to check if the filters need replacement. If they are worn out or clogged, it’s advisable to purchase new ones for optimal water filtration in the future.
Locating the water filters in your RV can vary depending on the make and model. To find them, refer to your owner’s manual or consult the manufacturer’s website. The filters could be located near the water pump, under the sink, or in other parts of the plumbing system. Take the time to locate and remove them before proceeding with the winterization process.
By removing or bypassing water filters, you ensure that the antifreeze flows smoothly throughout the plumbing system, protecting it from potential freezing and damage. Once the winterization process is complete, remember to reinstall or replace the water filters to maintain clean and filtered water during your RV adventures.
Drain Fresh Water Tank and Water Heater
Properly draining your fresh water tank and water heater is an important step in winterizing your RV plumbing system. Follow these instructions to ensure a thorough drain and prevent any potential damage.
Draining the Fresh Water Tank
To drain the fresh water tank, locate the drain spigot. It is typically located underneath the RV, near the tank itself. Place a container or hose below the spigot to catch the water.
Steps to drain the fresh water tank:
- Ensure all faucets and valves connected to the fresh water system are closed.
- Open the drain spigot fully to allow the water to flow out.
- Let the water drain completely onto the ground or into a suitable container.
It’s important to note that some RV parks have specific regulations regarding draining water onto the ground. Be sure to check and comply with any park rules if applicable.
Draining the Water Heater
Draining the water heater is equally important to prevent freezing and potential damage. Follow these steps to drain the water heater:
- Locate the water heater on your RV. It is typically found in an access panel on the exterior or interior of the vehicle.
- Identify the drain valve, which is often referred to as the petcock drain or a plastic plug.
- Ensure the water heater has cooled down before proceeding to prevent the risk of scalding.
- Open the drain valve or remove the plastic plug to let the water drain completely.
Note: If you are unsure about the location or the process, consult your RV owner’s manual for specific instructions.
Summary
By properly draining both the fresh water tank and water heater, you can protect your RV plumbing system from potential freezing and damage. Remember to follow the correct steps and consult your owner’s manual for any specific guidelines.
Adding Antifreeze and Additional Steps
Once you have drained and flushed the water system, it’s time to add RV antifreeze to protect your plumbing from freezing temperatures. Here’s what you need to do:
-
Connect the antifreeze intake line and valve to the water pump.
-
Place the other end of the hose into a gallon jug of RV antifreeze.
-
Turn on the pump and systematically open each faucet until pink antifreeze flows out of them. Remember to open both the hot and cold sides of each faucet, including the shower.
-
Flush the toilet and pour antifreeze down each drain. Don’t forget to treat the outside shower as well.
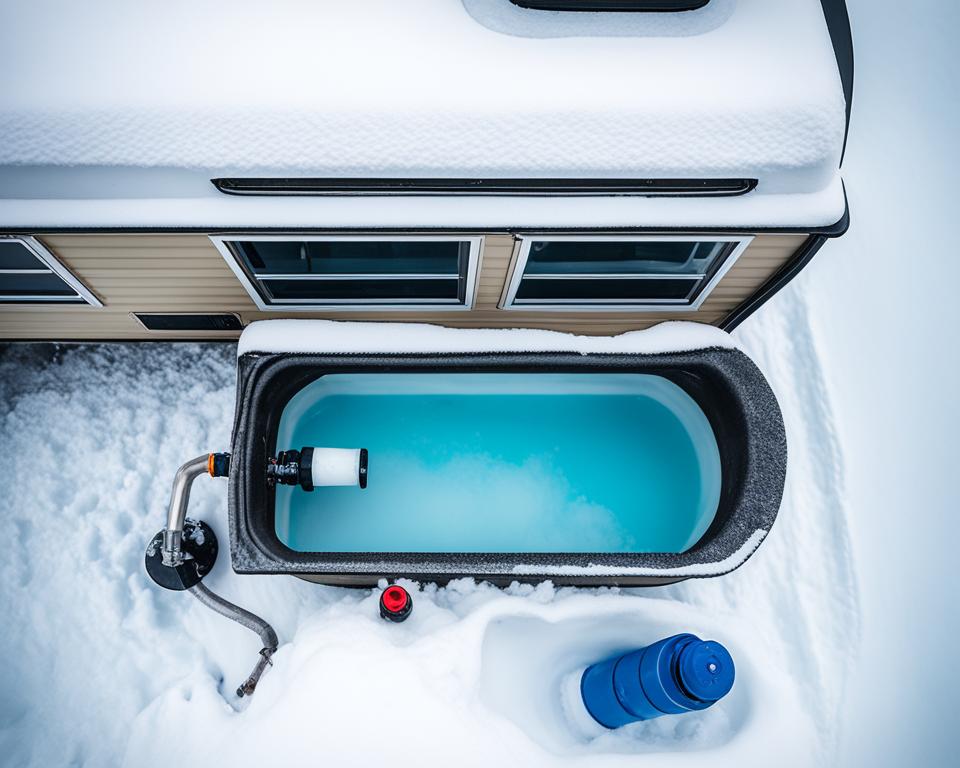
By following these steps, you can ensure that your RV’s plumbing system is protected from freezing temperatures during the winter months. The antifreeze will create a barrier in the pipes, preventing any remaining water from freezing and causing damage. This simple process will help you avoid costly repairs and ensure that your RV is ready for the next camping season.
Conclusion
Winterizing your RV plumbing is a crucial step to protect your RV from freezing temperatures. By following the proper steps and using the necessary materials, such as RV antifreeze and water heater bypass kits, you can ensure that your RV’s water system is prepared for winter storage.
Consulting your owner’s manuals for specific guidelines is essential in achieving effective winterization. In case you’re unsure or need assistance, it’s always a good idea to seek professional help. Taking the time to winterize your RV plumbing will help prevent costly repairs and ensure a smooth camping season when spring arrives.
Remember to prioritize the maintenance of your RV plumbing system by conducting regular checks and performing routine tasks, such as draining and flushing the water system, opening faucets and drain lines, and adding antifreeze. These simple steps will go a long way in preventing RV plumbing freeze and prolonging the lifespan of your RV.
By implementing these winter RV plumbing care tips, you can make sure that your RV is ready to withstand the cold weather and freezing temperatures. So, as the chilly season approaches, don’t forget to prioritize winter RV plumbing maintenance to keep your adventures on track and avoid any unpleasant surprises.
FAQ
Why is winterizing your RV plumbing important?
Winterizing your RV plumbing is crucial to protect your water system from potential damage caused by freezing temperatures.
What items do I need to winterize my RV plumbing?
You will need non-toxic RV/Marine antifreeze, basic hand tools, a water heater by-pass kit (if not already installed), and a wand for cleaning the black water holding tank.
What is the first step in winterizing my RV plumbing?
The first step is to drain and flush the water system, including removing and bypassing any inline water filters.
How do I open faucets and drain lines?
Open all hot and cold faucets, including the toilet valve and outside shower. Locate and open the low point water drain lines.
How do I bypass the water heater?
If your RV doesn’t have a by-pass kit installed, it’s recommended to bypass the water heater to save antifreeze. Install a water heater bypass kit or disconnect the inlet side of the water pump and connect tubing to a one-gallon jug of RV antifreeze.
How do I connect to the water pump and pressurize the system?
Install a water pump converter kit or use tubing to connect the inlet side of the water pump to a one-gallon jug of RV antifreeze. Turn on the water pump and pressurize the system, starting with the closest faucet.
How do I flush the toilet and protect the holding tank?
Flush the toilet until antifreeze appears. Pour a cupful of antifreeze down each drain. Add some RV antifreeze to the toilet bowl and flush it into the holding tank to prevent any remaining water from freezing.
Are there any special considerations for icemakers and washing machines?
Consult your RV owner’s manuals for specific guidelines on winterizing icemakers and washing machines, if equipped.
How do I remove or bypass water filters?
Before starting, remove or bypass any inline water filters as antifreeze can damage them. Refer to your owner’s manual to locate the filters.
How do I drain the fresh water tank and water heater?
Drain the fresh water tank by locating the drain spigot and opening it. Drain the water heater by opening the petcock drain or removing the plastic plug.
How do I add antifreeze and complete the process?
Connect the antifreeze intake line and valve to the water pump. Place the other end of the hose into a gallon jug of RV antifreeze. Turn on the pump and systematically open each faucet until pink antifreeze flows out of them. Flush the toilet and pour antifreeze down each drain.
What are some additional winterizing steps to consider?
Remember to consult your owner’s manuals for specific guidelines. Consider professional assistance if needed. Taking the time to winterize your RV plumbing will help prevent costly repairs and ensure a smooth camping season next spring.

