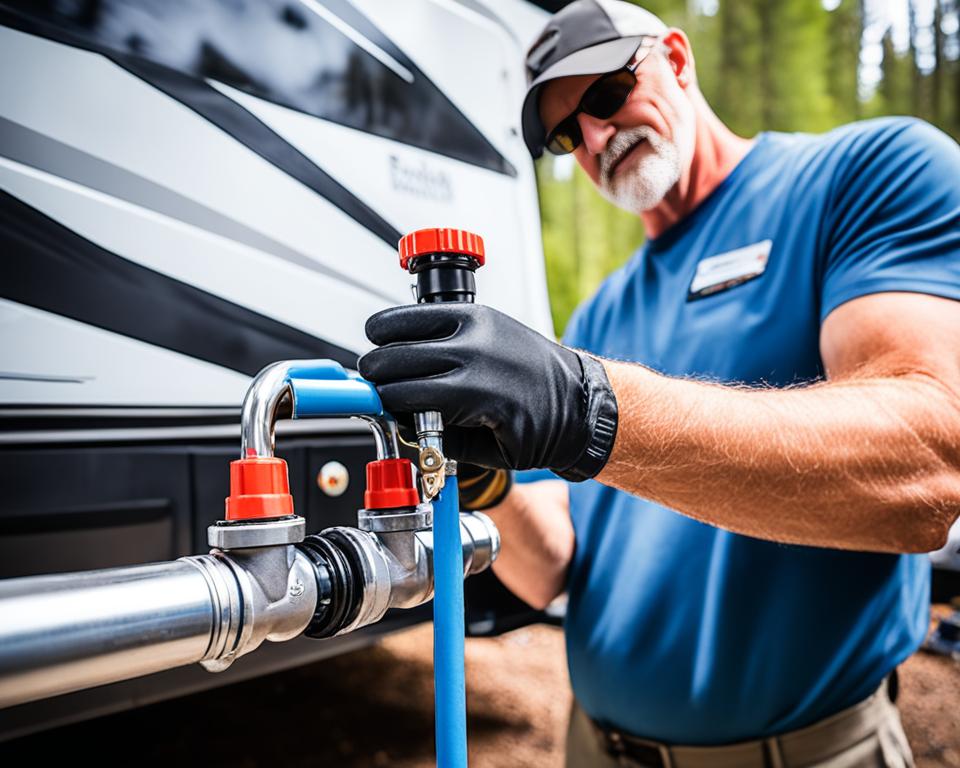
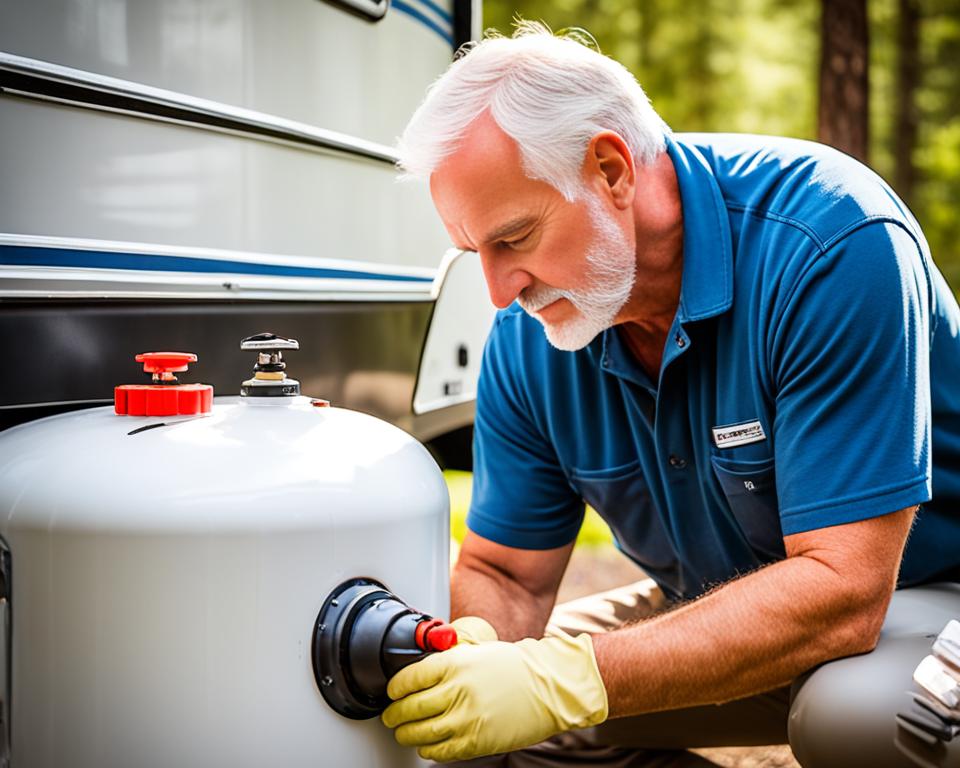
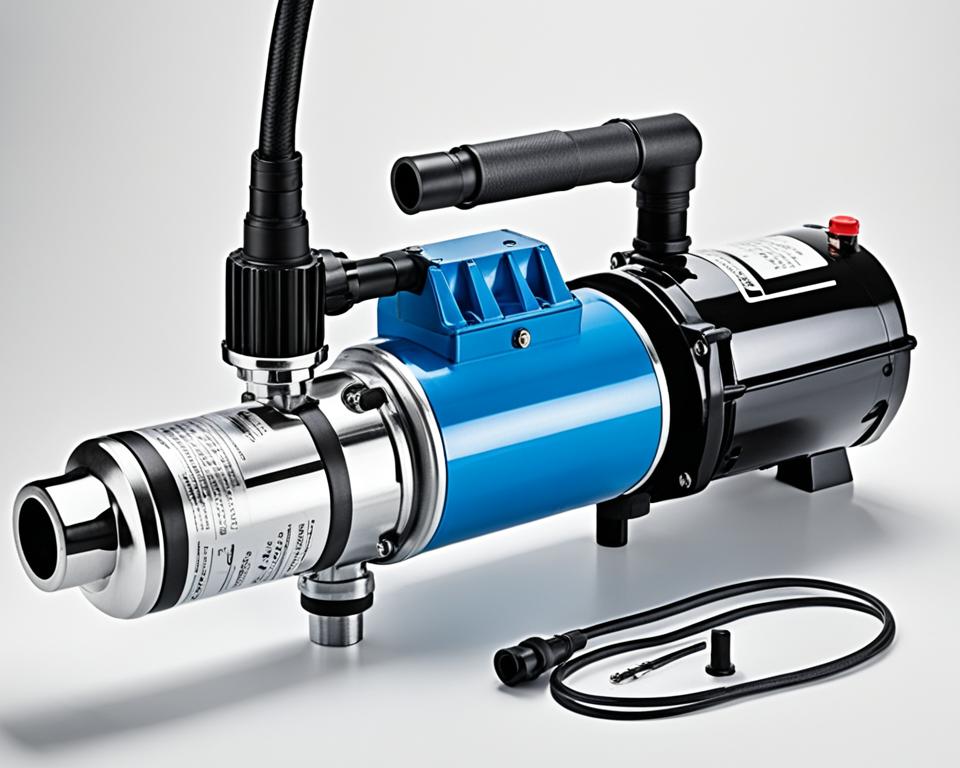
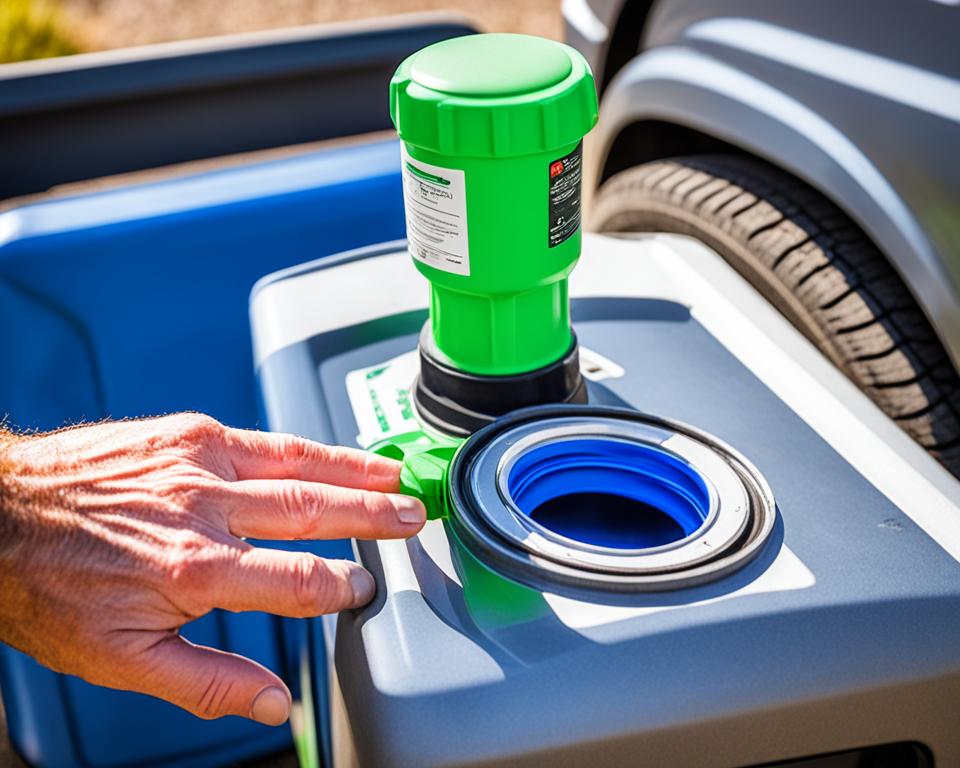
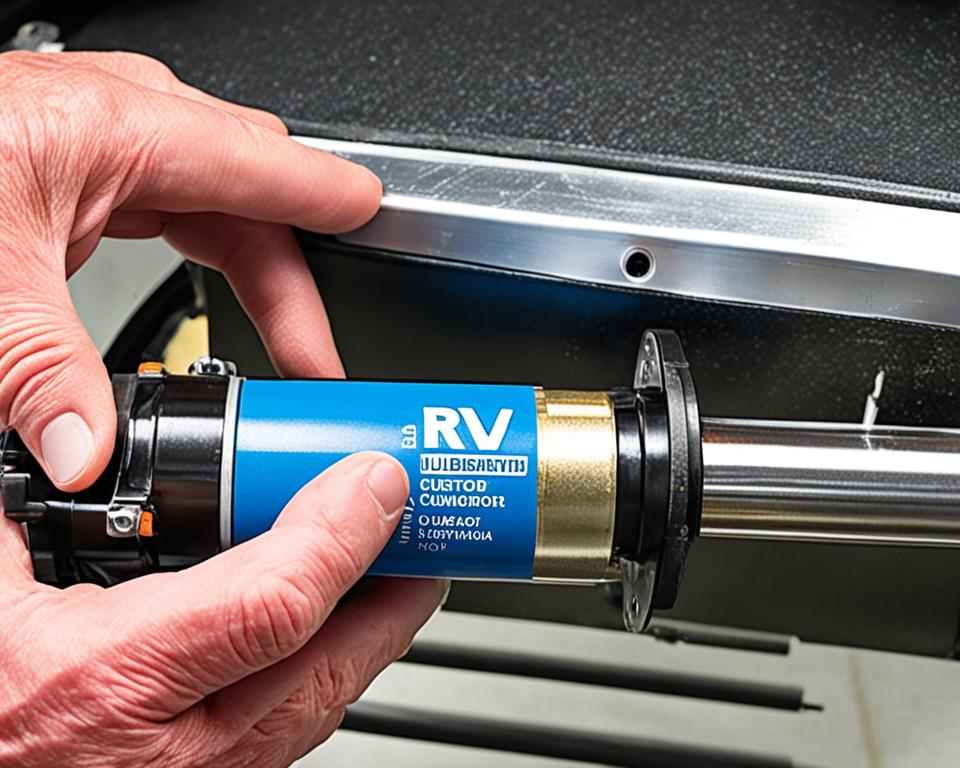
RV plumbing is similar to the plumbing in a home, but with some key differences. The water comes from a storage tank instead of a city supply line, and used water is collected in separate holding tanks. The RV water tank holds fresh water for drinking, cooking, and washing, with tank capacities varying depending on the size and class of the RV. External water tanks need to be insulated to prevent freezing, while some RVs have their water storage tank above floor level to make it easier to prevent freezing. Water can be filled from a campground hookup, city source, or other sources, and it is essential to use a water filter to ensure clean, potable water. A water pump is responsible for distributing water throughout the RV, and a water heater provides hot water for showers and sinks.
Key Takeaways:
- RV plumbing is similar to home plumbing, but with some key differences.
- RV water tanks store fresh water for drinking, cooking, and washing.
- Insulating external water tanks and protecting them from freezing is crucial.
- Using a water filter ensures clean and potable water.
- The water pump distributes water throughout the RV, while the water heater provides hot water.
RV Water Tank and Capacity Options
When it comes to camping in an RV, having a reliable water source is essential. That’s where the RV water tank comes in. This onboard tank allows campers to bring fresh water wherever they go, ensuring they have a supply for drinking, cooking, and washing.
RV water tanks come in different sizes to accommodate various RV classes. Class A RVs typically have larger tanks, while Class B RVs have smaller ones. The tank capacity determines how much water you can carry, so it’s important to consider your needs when choosing an RV.
To protect the RV water tank from freezing temperatures, insulation is crucial. Freezing can not only damage the tank but also the entire plumbing system. Proper insulation ensures that the water in the tank remains at a safe temperature, ready for use whenever you need it.
Now, let’s talk about filling the RV water tank. There are several options for filling it with fresh water. Many campgrounds offer hookups where you can directly fill your tank. Additionally, you can fill it from a city water source or other convenient sources while on the road.
When filling your RV water tank, it’s essential to use a food-grade hose. This ensures that the water remains potable and free from contaminants. Using a regular garden hose can introduce harmful chemicals or bacteria into your water supply, compromising its quality.
RV Water Tank and Capacity Options Summary:
| RV Class | Typical RV Water Tank Capacity |
|---|---|
| Class A | 100-150 gallons |
| Class B | 20-30 gallons |
Having a sufficient RV water tank capacity ensures that you won’t run out of water during your camping adventures. Insulating the tank prevents freezing and safeguards your plumbing system. When filling the tank, always use a food-grade hose to maintain potable water quality.
Next, let’s dive into another essential component of the RV water system: RV water filters. These filters play a vital role in ensuring clean and safe water for drinking, cooking, and washing.
RV Water Filters for Clean Water
When it comes to RV camping, having access to clean and potable water is a top priority. Drinking contaminated water can lead to waterborne diseases and ruin your camping experience. That’s why using RV water filters is essential for ensuring the cleanliness and safety of your water supply.
RV water filters are specifically designed to remove harmful contaminants from the water, including bacteria, mold, odors, sediment, and chemicals. By filtering out these impurities, the water becomes clean and safe for drinking, cooking, and other daily activities.
Using an RV water filter provides you with peace of mind, knowing that you and your family are consuming clean and healthy water. Whether you’re camping remotely or in areas where the water quality is uncertain, a water filter is a must-have accessory for your RV.
“Clean water is a fundamental necessity for any camping trip. With an RV water filter, you can enjoy the convenience of having potable water wherever you go, without worrying about waterborne diseases.” – Mark Richards, Experienced RV Camper
One of the advantages of RV water filters is their ease of use. They are typically easy to install and can be connected to the RV’s water system in minutes. Most filters come with clear instructions, making the setup process hassle-free.
Furthermore, RV water filters are available in different types and sizes to suit your specific needs. Some filters are designed for point-of-entry installation, filtering all the water that enters the RV, while others can be installed at individual points of use, such as under the sink. Consider your camping style and water usage requirements when choosing the right filter for your RV.
Remember, the quality of the water you consume directly impacts your health and well-being. Investing in an RV water filter is a small price to pay for the peace of mind and the assurance of clean and potable water during your camping adventures.
| Type of Filter | Benefits |
|---|---|
| Carbon Block Filters | Effective in removing chlorine, chemicals, and unpleasant odors |
| Ceramic Filters | Excellent at removing bacteria, cysts, and sediments |
| UV Filters | Kills harmful microorganisms and provides additional protection |
By selecting the right type of RV water filter and ensuring its regular maintenance, you can enjoy clean, potable water throughout your camping trip, reducing the risk of waterborne diseases and enhancing your overall camping experience.
Benefits of Using RV Water Filters:
- Removes bacteria, mold, odors, sediment, and harmful chemicals
- Provides clean and potable water for drinking, cooking, and washing
- Reduces the risk of waterborne diseases
- Easy to install and maintain
- Available in different types and sizes to suit individual needs
Maintaining and Understanding the RV Water Pump
The RV water pump plays a crucial role in distributing water throughout the RV, ensuring a steady supply for various needs. Understanding its functionality and performing regular maintenance is key to keeping it in optimal condition and preventing issues during your camping adventures.
The water pump is controlled by a switch and activates automatically when a faucet is opened or a toilet is flushed. This enables the pump to draw water from the storage tank and deliver it to the desired outlet. It’s a simple yet essential component of the RV plumbing system.
To maintain the RV water pump and prolong its lifespan, it is important to follow a few maintenance tips:
- Regularly inspect the pump for any signs of leaks, unusual noises, or vibrations. Addressing these issues early can help prevent further damage.
- Ensure that the pump is adequately secured in place to minimize excessive movement during travel.
- Check the connections and fittings for any leaks or loose connections. Tighten them if necessary.
- Keep the pump clean and free from debris by occasionally flushing it with fresh water.
- When winterizing your RV, be sure to properly drain and protect the water pump to prevent freezing and potential damage.
It’s important to note that most RV water pumps are designed to be low-maintenance and operate with few problems. However, regular maintenance and care can help extend their lifespan and ensure optimal performance.
By understanding the functionality of the RV water pump and implementing proper maintenance practices, you can enjoy a reliable water supply during your camping trips and avoid potential plumbing issues.
RV Water Pump Troubleshooting Tips:
If you encounter any issues with your RV water pump, here are a few troubleshooting tips to consider:
- Check the power supply to ensure that the pump is receiving adequate voltage.
- Inspect the pump’s fuse or circuit breaker and replace if necessary.
- Verify that the pump is properly primed and that there are no air pockets in the system.
- Ensure that the pump’s inlet and outlet valves are fully open.
- If the pump is running but there is no water flow, inspect the system for any clogs or blockages.
If these troubleshooting steps do not resolve the issue, it may be best to consult a professional RV technician for further assistance.
Keeping your RV water pump well-maintained and understanding its functionality will help ensure a smooth and uninterrupted water supply during your camping adventures.
Understanding RV Water Heater Operation
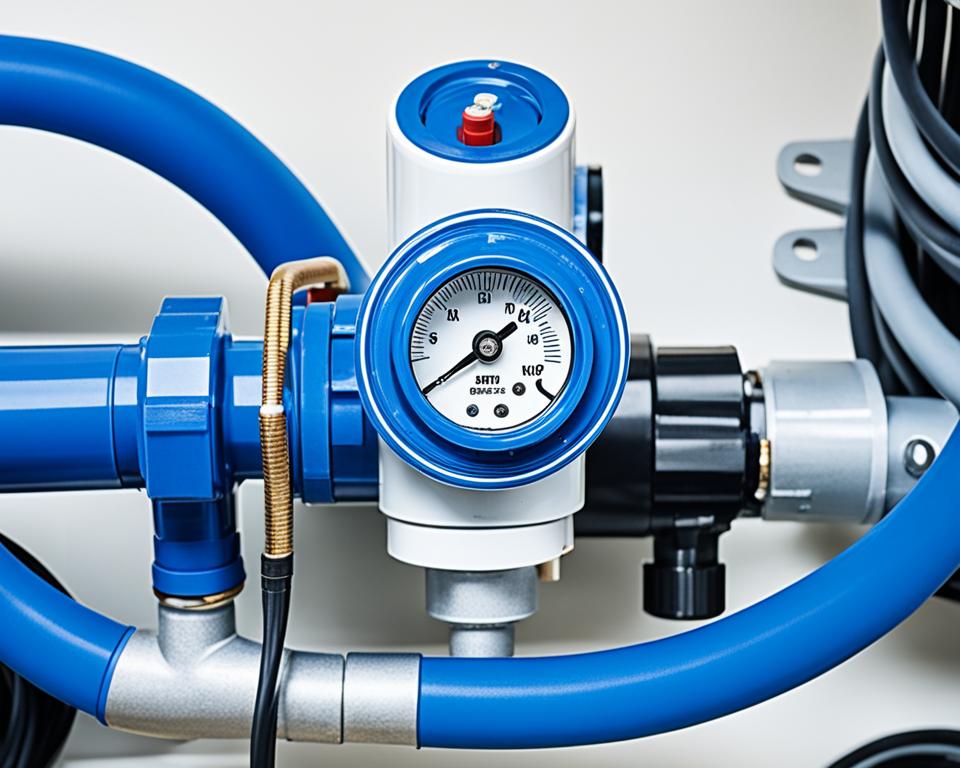
RV water heaters are an essential component of the camping experience, providing hot water for showers and sinks. It is important to understand how the RV water heater works and how to maintain it to ensure a comfortable and convenient trip.
RV water heaters are designed similarly to home water heaters, with an electric element and a tank for storing hot water. The water heater tank holds a specific capacity of water, allowing campers to have access to hot water whenever needed.
Maintaining the RV water heater is crucial to prevent issues and ensure its longevity. Regular inspection of the water heater tank is necessary to check for corrosion and leaks. Additionally, the anode rod inside the tank should be inspected and replaced if needed. The anode rod helps prevent corrosion by sacrificing itself to protect the tank.
While RV water heaters are generally less likely to freeze than external water tanks, it is still important to monitor the heating system in extreme cold temperatures. Insulating the water heater tank can help prevent freezing and damage to the plumbing system.
Benefits of Proper RV Water Heater Maintenance:
- Extended lifespan of the water heater
- Consistent supply of hot water
- Prevention of corrosion and leaks
- Improved efficiency
Proper maintenance and inspection of the RV water heater are essential to ensure a reliable supply of hot water during your camping adventures.
RV Water Heater Maintenance Tips:
- Regularly inspect the water heater tank for corrosion and leaks.
- Replace the anode rod if it shows signs of wear or corrosion.
- Insulate the water heater tank to prevent freezing in extreme cold temperatures.
- Flush the tank periodically to remove sediment and mineral buildup.
- Follow manufacturer guidelines for maintenance and operation.
By understanding how the RV water heater operates and implementing proper maintenance practices, campers can enjoy hot showers and convenient access to hot water throughout their camping trips.
Managing RV Waste in the Plumbing System
One of the essential aspects of responsible RV ownership is managing the waste in the plumbing system. To effectively handle waste disposal, it’s important to understand the RV sewage system, which consists of separate tanks for black water and gray water.
Black Water Tank: The black water tank is responsible for collecting waste from the RV toilet. This tank should be emptied properly and legally, typically at a campground or dump station. Ensuring the correct disposal of black water is crucial to maintaining cleanliness and preventing contamination.
Gray Water Tank: On the other hand, the gray water tank collects water from sinks and showers. This water is not contaminated by waste and can be repurposed for non-potable purposes such as watering plants or flushing toilets. It’s important to note that regulations may vary, so it’s essential to adhere to local guidelines regarding gray water usage.
Understanding the difference between black and gray water and following proper disposal practices is essential to maintain a clean and hygienic RV environment. By managing the RV waste system effectively, campers can contribute to a more sustainable and responsible camping experience.
Proper Disposal Methods for Black Water and Gray Water
- For black water disposal:
- Locate a designated RV dump station or campground with waste disposal facilities.
- Connect the RV sewer hose to the dump station’s sewage receptacle, ensuring a secure fit.
- Open the black water tank valve, allowing the waste to flow into the receptacle.
- Flush the black water tank with clean water to ensure thorough emptying.
- Close the black water tank valve and disconnect the sewer hose, ensuring no spills or leaks.
- Properly clean and sanitize the sewer hose before storage.
- For gray water repurposing:
- Collect gray water in a separate container or bucket.
- Use the gray water for non-potable purposes such as watering plants, cleaning outdoor equipment, or flushing toilets.
- Ensure that gray water is not directed towards any water sources, including lakes, rivers, or storm drains.
Note: Always follow local regulations and campground guidelines for waste disposal and gray water usage. Avoid dumping waste into unauthorized areas, as it can harm the environment and lead to fines.
Proper Use and Care of RV Toilets
RV toilets are an essential component of your camping experience. Whether you’re on a road trip or parked at a campground, proper use and care of your RV toilet can make a significant difference in your comfort and convenience.
RV toilets typically use either fresh water or gray water and drain into a storage tank. It’s crucial to follow a few guidelines to ensure smooth operation and avoid any unnecessary issues.
Use Less Toilet Paper to Prevent Clogs
One common problem with RV toilets is clogging, which can be easily prevented by using less toilet paper. Unlike the plumbing systems in traditional homes, RV plumbing systems have narrower pipes and may not handle excessive amounts of toilet paper well. Using RV-specific toilet paper or opting for a reduced amount can help prevent clogs and ensure the smooth flow of waste through the system.
Routine Maintenance for Optimal Functionality
Regular maintenance is key to keeping your RV toilet in good working condition. Here are a few maintenance tips to consider:
- Check for leaks: Inspect the toilet’s connections and seals regularly to ensure there are no leaks. If you notice any leaks, address them promptly to prevent water damage or odors.
- Inspect the flushing mechanism: Test the flush mechanism regularly to ensure it’s working correctly. If you encounter any issues, such as weak flushing or difficulty filling the bowl with water, consult the manufacturer’s instructions or seek professional assistance.
- Clean and sanitize: Regularly clean the toilet bowl and surrounding areas with RV-friendly cleaning products. Keeping your toilet clean and sanitized not only promotes hygiene but also helps prevent odors.
RV Toilet Replacement
In some cases, RV toilets may need to be replaced due to wear and tear or irreparable damage. If you’re considering replacing your RV toilet, there are a few essential factors to keep in mind:
When replacing an RV toilet, ensure compatibility with your RV’s plumbing system. Consider factors such as size, mounting options, and additional features like foot pedal operation or water-saving functionality.
Consult the manufacturer’s guidelines or seek professional advice to ensure a seamless toilet replacement process. Replacing your RV toilet can improve your overall camping experience by providing enhanced comfort and convenience.
| Benefits of Proper Use and Care of RV Toilets | Tips for Maintenance | RV Toilet Replacement Considerations |
|---|---|---|
| 1. Prevents clogging and plumbing issues | 1. Check for leaks regularly | 1. Ensure compatibility with RV plumbing system |
| 2. Maintains proper hygiene and sanitation | 2. Inspect flushing mechanism | 2. Consider size, mounting options, and additional features |
| 3. Enhances overall camping experience | 3. Clean and sanitize regularly | 3. Consult manufacturer’s guidelines or seek professional advice |
Proper Disposal of RV Waste Tanks
When it comes to RV camping, proper disposal of waste tanks is an important part of responsible RV ownership. Whether you’re staying at an RV-compatible campground or on the go, knowing how to properly empty your RV waste tanks is crucial for maintaining cleanliness and preventing environmental contamination.
RV-Compatible Dump Stations
RV-compatible campgrounds typically have designated dump stations where campers can conveniently empty their waste tanks. These dump stations are equipped with the necessary facilities to handle RV waste disposal safely. Here’s how to make use of a dump station:
- First, ensure that your RV is parked close to the dump station so that the sewer hose can reach the appropriate connection point.
- Put on a pair of disposable gloves to protect your hands during the disposal process.
- Remove the cap from the waste tank outlet and connect your RV sewer hose securely to the outlet.
- Position the other end of the sewer hose into the dump station’s sewer inlet, making sure it is securely in place.
- Open the waste tank valve, allowing the contents to flow into the dump station. You may want to crack open the gray water tank valve first to flush out any residue in the hose.
- Once the waste has been emptied, close the waste tank valve and disconnect the sewer hose from both the RV and the dump station.
- Thoroughly rinse the sewer hose with fresh water and stow it away properly.
- Replace the cap on the waste tank outlet and ensure it is tightly sealed.
Alternative Dump Stations
If you’re not staying at a campground with a dump station or you’re on the move, there are alternative options for dumping your RV waste tanks:
- Truck Stops: Many truck stops offer RV hookups and facilities for dumping waste tanks. These locations are convenient for RV travelers and are equipped with the necessary resources for proper waste disposal.
- Rest Areas: Some rest areas also offer RV dumping facilities. These locations are often spaced along major highways, providing a convenient option for travelers.
When using alternative dump stations, it’s important to follow the same procedure as at an RV-compatible campground dump station. Ensure the sewer hose is securely connected and that proper sanitation measures are taken to maintain cleanliness.
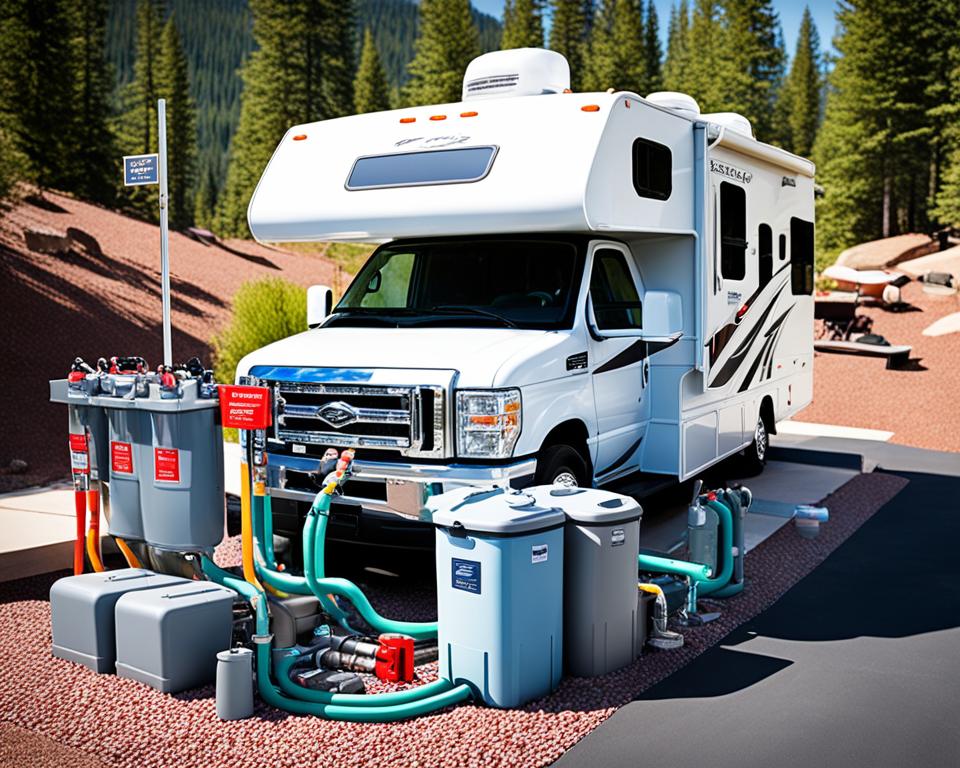
This image illustrates an RV dump station, where campers can conveniently empty their RV waste tanks.
Benefits of Proper Waste Tank Disposal
“Proper disposal of RV waste tanks not only ensures a clean and sanitary camping experience, but also protects the environment and promotes responsible outdoor recreation.”
By properly disposing of your RV waste tanks, you play a part in preserving natural resources and preventing water contamination. It also helps maintain the cleanliness and hygiene of RV campgrounds and other public areas.
| Benefits of Proper Waste Tank Disposal |
|---|
| Prevents environmental contamination |
| Maintains cleanliness and hygiene |
| Preserves natural resources |
| Promotes responsible outdoor recreation |
Remember, responsible waste tank disposal is not only a legal requirement but also a moral obligation to protect our natural surroundings. By adhering to proper waste disposal practices, you can enjoy RV camping while minimizing your ecological footprint.
Tips for Accessing and Maintaining RV Plumbing System
Proper access to the RV plumbing system is essential for maintenance and repairs. Here are some helpful tips to ensure you can easily reach valves and connections:
- Organize your storage: Keep cabinets and compartments near the plumbing system clutter-free. This will make it easier to access the necessary components when needed.
- Label valves and connections: Use adhesive labels or color-coded tags to identify different valves and connections. This will help you quickly locate the specific one you need to work with.
- Keep an RV plumbing diagram: Create a detailed diagram of your RV’s plumbing system, including the location of tanks, valves, pumps, and water lines. Refer to this diagram when performing maintenance or troubleshooting issues.
- Use extension tools: In hard-to-reach areas, such as behind panels or under the sink, use extension tools like flexible grabber tools or angled wrenches to access valves and connections without straining yourself.
- Inspect for leaks: Regularly check for signs of leaks, such as water stains or dampness, around the plumbing system. If you notice any leaks, address them promptly to prevent further damage.
Now that you know how to access the RV plumbing system, let’s explore some essential maintenance practices:
- Regularly inspect connections: Check all connections for any signs of wear or damage. Tighten loose connections and replace any damaged fittings or seals.
- Flush the system: Periodically flush the plumbing system to remove sediment or debris that could clog pipes or affect water flow. Follow the manufacturer’s instructions for your specific RV model.
- Winterize the plumbing system: Before cold weather arrives, protect your RV plumbing system from freezing by following proper winterization procedures. This includes draining all water tanks, adding antifreeze, and insulating exposed pipes.
If you encounter any issues with your RV plumbing system that require repairs, it is recommended to consult a professional RV technician or plumber experienced in RV plumbing repairs. They have the expertise and tools to diagnose and fix plumbing problems effectively.
Quote:
“Maintaining and accessing your RV plumbing system not only extends its lifespan but also ensures a smooth and hassle-free camping experience. Take the necessary steps to keep your plumbing in top shape, and your adventures on the road will be worry-free.”– RV Plumbing Pro
Remember, proper maintenance and understanding of your RV plumbing system can save you time, money, and potential headaches down the road. Stay proactive and address any plumbing issues promptly to enjoy your RV travels to the fullest.
| Benefits of Proper RV Plumbing Maintenance: |
|---|
| 1. Avoid costly repairs |
| 2. Ensure optimal water flow |
| 3. Prevent leaks and water damage |
| 4. Extend the lifespan of your RV plumbing system |
| 5. Maintain a comfortable camping experience |
By following these tips and staying proactive with your RV plumbing maintenance, you can enjoy worry-free travels and make the most out of your camping adventures.
Conclusion
Understanding and maintaining your RV plumbing is crucial for a comfortable and stress-free camping experience. By regularly inspecting your RV plumbing system, performing necessary maintenance, and knowing how to troubleshoot common issues, you can avoid costly repairs and keep your plumbing system running smoothly.
When it comes to RV plumbing, prevention is key. Conducting routine inspections allows you to identify any potential problems early on, such as leaks or damaged components. Additionally, performing regular maintenance tasks like winterizing your RV plumbing system, checking for proper seals, and cleaning filters will help extend the lifespan of your plumbing system.
To maximize the life and performance of your RV plumbing system, it’s crucial to follow some simple tips. First, always use a food-grade hose to fill your water tank and invest in a reliable water filter to ensure clean, potable water. Secondly, be mindful of the amount of toilet paper you use and avoid flushing anything other than waste and toilet paper to prevent clogs.
In the event of a plumbing issue, being equipped with troubleshooting knowledge can save you time, money, and frustration. Familiarize yourself with the location of essential plumbing components and understand how they work together. This will enable you to diagnose and address common problems, such as low water pressure or a malfunctioning water pump, on your own.
By implementing these RV plumbing tips and practices, you can enjoy your camping adventures without the worry of plumbing problems. Regular inspections, proper maintenance, and troubleshooting skills will not only ensure a smooth and trouble-free plumbing system but also contribute to an overall enjoyable RV experience.
FAQ
What are some simple RV plumbing checks that campers should perform?
Campers should perform simple RV plumbing checks such as inspecting for leaks, checking water pressure, testing for proper drainage, and examining pipe connections for any signs of damage or corrosion.
How does the RV water tank work and what are the capacity options?
The RV water tank holds fresh water for drinking, cooking, and washing. The tank capacity varies depending on the class of the RV, with larger tanks in Class A RVs and smaller tanks in Class B RVs.
How should I fill the RV water tank?
The RV water tank can be filled from a campground hookup, a city source, or other sources. It is important to use a food-grade hose to avoid contamination.
Why is an RV water filter important?
An RV water filter is essential for ensuring clean, potable water. It removes bacteria, mold, odors, sediment, and harmful chemicals from the water, making it safe to consume.
How does the RV water pump work and how should I maintain it?
The RV water pump is responsible for distributing water throughout the RV. It is controlled by a switch and activates when a faucet is opened or a toilet is flushed. Proper maintenance and winterization of the water pump can prolong its lifespan.
How does the RV water heater operate and what maintenance does it require?
The RV water heater provides hot water for showers and sinks. It is similar to a home water heater and requires regular maintenance, such as inspecting the tank for corrosion and replacing the anode rod if needed.
What is the difference between black water and gray water in the RV sewage system?
The RV sewage system includes separate tanks for black water (from the toilet) and gray water (from sinks and showers). Black water must be disposed of properly, usually at a campground or dump station, while gray water can be used for non-potable purposes.
How should I properly use and maintain the RV toilet?
RV toilets can use either fresh water or gray water and drain into a storage tank. Proper use involves using less toilet paper to prevent clogs and performing routine maintenance, such as checking for leaks and ensuring proper functionality.
Where can I dump my RV waste tanks?
RV-compatible campgrounds usually have dump stations where campers can empty their waste tanks. Additionally, truck stops and rest areas often have RV hookups where waste tanks can be dumped.
How can I access and maintain my RV plumbing system?
Accessing the RV plumbing system may involve opening cabinets and panels to reach valves and connections. Routine maintenance and inspection can help prevent plumbing issues. Understanding the location of different components and how they work together is key to maintaining and troubleshooting RV plumbing.
Is regular RV plumbing maintenance important?
Yes, regular RV plumbing maintenance is crucial for a comfortable and hassle-free camping experience. It helps prevent costly repairs and keeps the plumbing system running smoothly. Following simple RV plumbing checks and tips can ensure a well-maintained plumbing system.

