Taking care of your RV’s electrical system is crucial for maintaining safety and efficiency on the road. By implementing proactive RV electrical system care, you can avoid potential issues and extend the lifespan of your RV’s electrical components. Follow these tips and tricks to ensure your RV electrical system stays in top condition.
Key Takeaways:
- Regularly inspect and maintain your RV battery to ensure optimal performance.
- Understand the characteristics of your RV battery, such as capacity and discharge rate.
- Clean battery terminals and monitor water levels in flooded cell batteries.
- Follow proper charging and discharging procedures to prolong the battery’s lifespan.
- Store your RV battery in a cool, dry location and avoid extreme temperatures.
Understanding Your RV Battery
The RV battery plays a crucial role in powering your electrical system while you’re on the road. Taking proper care of your RV battery is essential for ensuring its longevity and optimal performance. By familiarizing yourself with the components and characteristics of an RV battery, you can better understand how to maintain it effectively.
Let’s dive into the key elements of an RV battery:
- Battery case: The outer housing that protects the internal components of the battery.
- Electrolyte: A mix of water and sulfuric acid that facilitates the battery’s chemical reactions.
- Positive and negative plates: Lead plates coated with lead oxide (positive) and lead sponge (negative) that store and release electrical energy.
- Separators: Insulating materials that keep the positive and negative plates apart while allowing the flow of electrolyte.
- Terminal posts: Connection points for attaching electrical cables to the battery.
Additionally, it’s important to understand the characteristics of your RV battery:
- Capacity: The amount of electrical energy the battery can store, measured in ampere-hours (Ah).
- Discharge rate: The rate at which the battery discharges its stored energy, often expressed as a percentage per hour.
- Cycle life: The number of complete charge and discharge cycles a battery can endure before its capacity significantly decreases.
- Self-discharge rate: The rate at which a battery naturally loses its charge over time, typically expressed as a percentage per month.
Why Understanding Your RV Battery Matters
Having a clear understanding of your RV battery’s components and characteristics empowers you to take the necessary steps to properly care for it. With this knowledge, you can develop a maintenance routine that extends the lifespan of your RV battery and ensures reliable electrical power throughout your travels. Neglecting proper RV battery maintenance can lead to premature failure, leaving you without power when you need it most.
Proper care of the RV battery is crucial for preventing issues and maintaining the lifespan of your RV’s electrical components.
By properly caring for your RV battery, you can avoid common problems such as voltage fluctuations, insufficient power supply, or battery failure. Keeping a well-maintained RV battery also contributes to the overall safety and efficiency of your electrical system, providing peace of mind during your adventures on the road.
Now that you have a solid understanding of the components and characteristics of an RV battery, it’s time to explore how you can proactively maintain and care for this vital component. In the next sections, we will delve into regular inspection and maintenance, proper charging and discharging techniques, storage and temperature control tips, energy-efficient practices, troubleshooting common issues, and maintaining other electrical components of your RV.
Regular Inspection and Maintenance
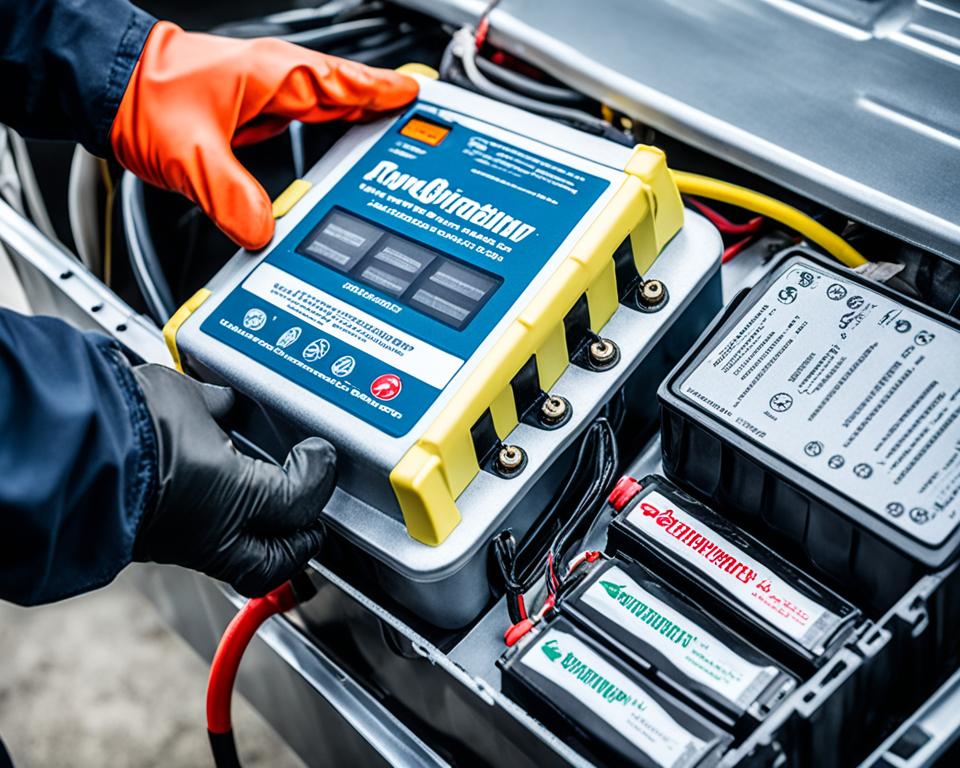
Regularly inspecting and maintaining your RV battery is essential for ensuring its longevity and optimal performance. By implementing a comprehensive inspection and maintenance routine, you can avoid potential issues and keep your battery in top condition.
Here are the key steps to include in your RV battery inspection and maintenance process:
1. Battery Case Inspection
Inspect the battery case for any cracks, leaks, or other damage that may compromise its integrity. A damaged battery case can lead to electrolyte leakage and potential hazards. If you notice any issues, it’s crucial to replace the battery promptly.
2. Terminal Connections Check
Examine the battery terminal connections to ensure they are clean and secure. Loose or corroded terminals can affect the battery’s performance and electrical conductivity. Regularly cleaning the terminals and applying a corrosion inhibitor can help maintain optimal connections.
3. Corrosion Cleaning
To clean battery corrosion, create a mixture of baking soda and water. Gently scrub the battery terminals and connections using a brush or sponge. Rinse thoroughly with clean water to remove any remaining residue. Cleaning battery corrosion helps maintain proper electrical contact and prevents power loss.
4. Water Level Monitoring
If your RV battery is a flooded cell battery, ensure you regularly monitor and manage the water levels. The water should cover the lead plates, but avoid overfilling. Use distilled water to refill if necessary, as impurities in tap water can affect battery performance.
5. Battery Disconnect Switches
Consider using battery disconnect switches or isolators to prevent unnecessary power drain when your RV is in storage or not in use. These switches disconnect the battery from the electrical system, preventing parasitic loads that can slowly drain the battery over time.
By incorporating these inspection and maintenance practices into your regular RV maintenance routine, you can prolong the life of your battery and ensure its optimal performance.
Proper Charging and Discharging
Properly charging and discharging your RV battery is crucial for its longevity. By following the recommended guidelines and using the right equipment, you can ensure that your battery remains in good condition and delivers reliable power when you need it most.
When it comes to RV battery charging, it’s important to use chargers specifically designed for your battery type. Different batteries have different charging requirements, so using the wrong charger can lead to overcharging or undercharging, which can damage the battery and shorten its lifespan.
To avoid these issues, always follow the manufacturer’s recommendations for charging voltage and current. This information can usually be found in the battery’s user manual or on the manufacturer’s website. By adhering to these guidelines, you can charge your RV battery safely and effectively.
Additionally, it’s essential to avoid overcharging or undercharging your RV battery. Overcharging can cause the battery to overheat, damaging the internal components, while undercharging can result in insufficient power and reduced battery life. Monitoring the battery’s voltage regularly can help you determine its state of charge and prevent these problems.
The ideal voltage range for a fully charged RV battery varies depending on the battery type and size. Generally, a fully charged RV battery should have a voltage between 12.6 and 12.8 volts for lead-acid batteries and between 13.2 and 13.4 volts for AGM batteries. Consult your battery’s specifications to determine the ideal voltage range for your specific battery.
Common Charging and Discharging Mistakes to Avoid
- Using an incompatible charger: Always use a charger specifically designed for your RV battery type to avoid overcharging or undercharging.
- Neglecting to monitor the battery’s voltage: Regularly check the battery’s voltage to ensure it remains within the ideal range and prevent potential issues.
- Ignoring manufacturer’s recommendations: Follow the charging guidelines provided by the battery manufacturer to ensure optimal performance and longevity.
Remember, proper charging and discharging practices are essential for maintaining the health of your RV battery and maximizing its lifespan. By taking the necessary precautions and following the recommended guidelines, you can enjoy worry-free adventures on the road.
Storage and Temperature Control
Properly storing your RV battery is crucial to maintain its longevity and optimal performance, especially during extended periods of non-use. By following these storage and temperature control tips, you can ensure that your RV battery remains in excellent condition.
- Disconnect the battery: Before storing your RV, make sure to disconnect the battery from the electrical system. This will prevent any parasitic loads from draining the battery’s charge during storage.
- Find a cool, dry location: Choose a storage area that is cool, dry, and well-ventilated. Excessive heat and humidity can accelerate battery deterioration and shorten its lifespan.
- Avoid direct sunlight: Direct exposure to sunlight can lead to increased battery temperature, which can negatively impact its performance. Store the battery away from windows or areas with direct sunlight.
- Use a battery maintainer or trickle charger: Consider using a battery maintainer or trickle charger to maintain the charge level of your RV battery during storage. These devices help prevent the battery from discharging completely and prolong its lifespan.
- Temperature control measures: Implement temperature control measures to protect your RV battery from extreme temperatures. High temperatures can cause the battery to degrade, while freezing temperatures can lead to reduced capacity and potential damage. Ensure that the storage area is insulated and shielded from extreme heat or cold.
By following these storage and temperature control practices, you can extend the lifespan of your RV battery and ensure its reliable performance when you hit the road again.
Energy-Efficient Practices
Implementing energy-efficient practices is essential for maximizing your RV’s energy efficiency, optimizing battery usage, and reducing strain on your electrical system. By incorporating these practices into your RV lifestyle, you can save energy, extend battery life, and minimize your environmental impact.
Switch to RV LED Lighting
One of the easiest and most effective ways to enhance energy efficiency in your RV is by replacing traditional incandescent bulbs with energy-efficient LED lighting. RV LED lights consume significantly less energy and last much longer than incandescent bulbs, making them an excellent investment for long-term savings. LED lights also produce less heat, reducing the strain on your RV’s cooling system.
Calculate RV Electrical Loads
Understanding your RV’s electrical loads is crucial for avoiding overloading your batteries and electrical system. Take the time to calculate the power requirements of your appliances and electronics, and ensure they are within the limits of your RV’s electrical capacity. Distribute the load evenly across circuits to prevent any single circuit from being overwhelmed. This practice will protect your batteries and electrical components from unnecessary strain and potential damage.
Consider Energy-Efficient Cooling and Heating Options
Heating and cooling your RV can be a significant drain on your energy resources. Consider upgrading to energy-efficient cooling and heating systems to reduce energy consumption. Look for RV air conditioners and heaters that are specifically designed for energy efficiency, such as models with high SEER (Seasonal Energy Efficiency Ratio) ratings. Additionally, proper insulation and weather-stripping can help maintain a comfortable temperature inside your RV without relying heavily on climate control systems.
The integration of energy-efficient practices can significantly improve RV energy efficiency, extending battery life, and reducing reliance on external power sources. By opting for LED lighting, calculating and distributing electrical loads, and investing in energy-efficient cooling and heating options, RV owners can enjoy a more sustainable and cost-effective travel experience.
| Energy-Efficient Practices | Benefits |
|---|---|
| Switch to RV LED lighting | – Reduced energy consumption – Longer lifespan – Less heat production |
| Calculate RV electrical loads | – Prevention of overloading – Protection for batteries and electrical system |
| Consider energy-efficient cooling and heating options | – Reduced energy consumption – Enhanced temperature control – Cost savings |
Embracing energy-efficient practices not only benefits the environment but also improves your RVing experience by maximizing battery life, minimizing the risk of electrical mishaps, and reducing overall energy costs. By adopting these simple yet impactful measures, you can make your RV more sustainable, efficient, and enjoyable.
RV Electrical System Troubleshooting
Occasionally, RV owners may encounter electrical issues that require troubleshooting. Being able to diagnose and resolve common RV electrical problems is essential for maintaining a functional and safe electrical system. Here are some tips to help you identify and address these issues efficiently.
1. Test RV Battery
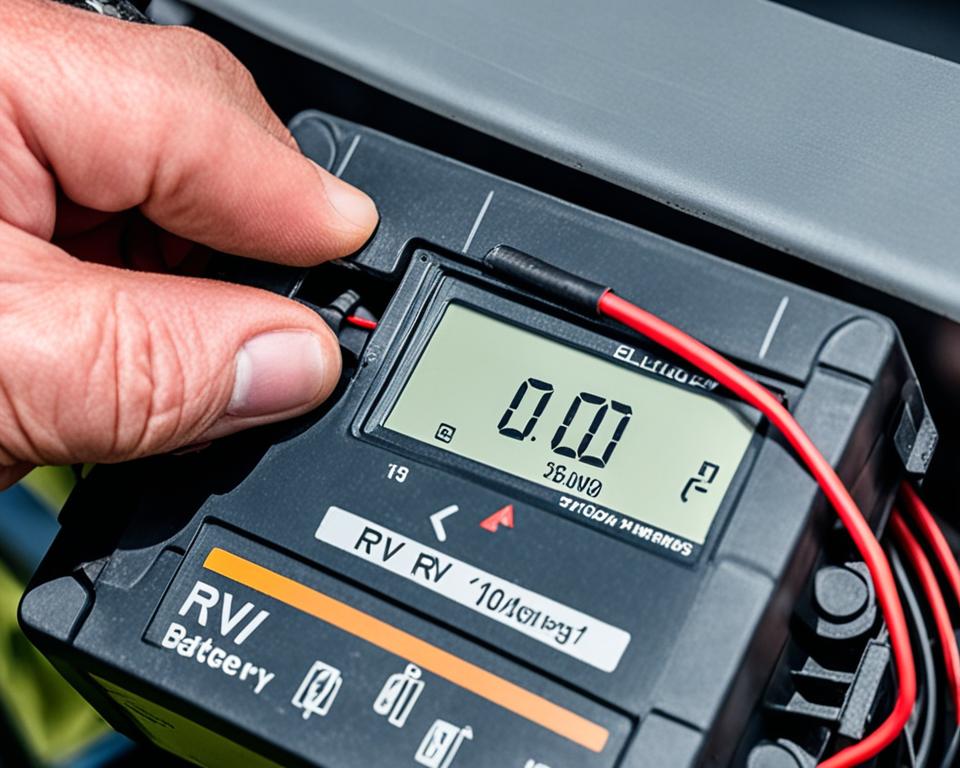
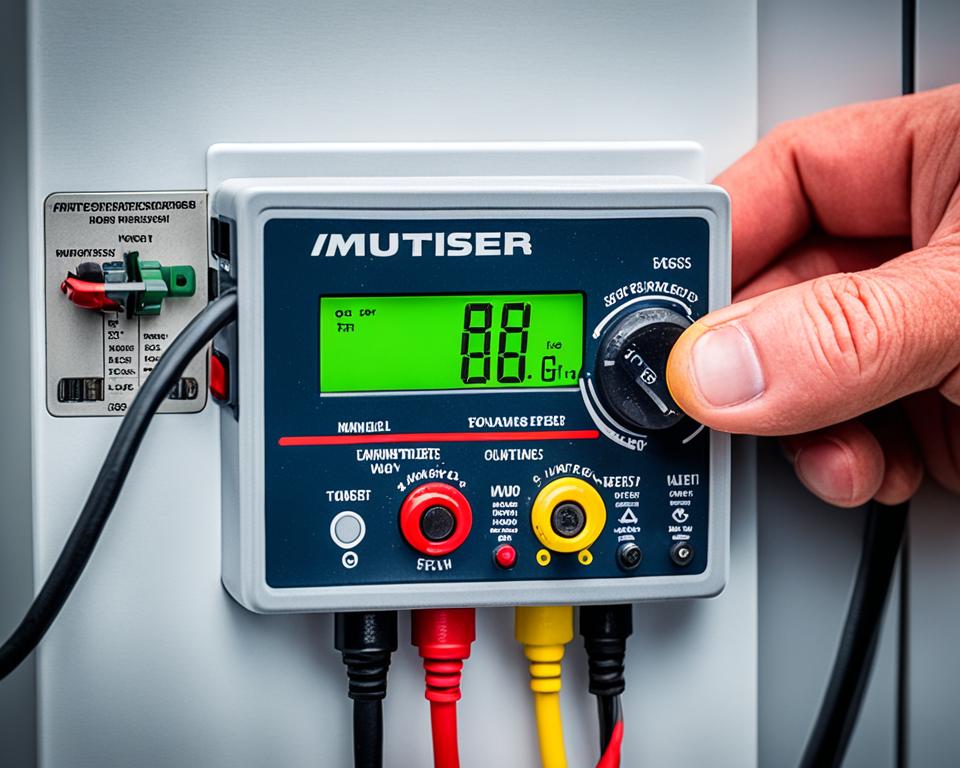
To begin troubleshooting, it’s important to test the health of your RV battery. Use a voltmeter to measure the voltage of the battery. A fully charged battery should read around 12.6 volts. If the voltage is significantly lower, it may indicate a battery problem. Additionally, inspect the battery terminals for any signs of corrosion and ensure they are clean and tightly connected.
2. Understand Warning Signs
Familiarize yourself with common warning signs of RV electrical problems. These signs may include flickering lights, outlets not working, appliances malfunctioning, or recurrent blown fuses. Understanding these warning signs will help you narrow down the issue and take appropriate troubleshooting steps.
3. Check Circuit Breakers and Fuses
When facing electrical issues, it’s crucial to inspect the circuit breakers and fuses in your RV. Circuit breakers protect your electrical system from overloading, while fuses prevent excessive current flow. If a circuit breaker trips or a fuse blows, it may indicate an electrical overload or a short circuit. Check and reset the circuit breakers or replace blown fuses to resolve these issues.
4. Inspect Wiring and Connections
Loose or damaged wiring can cause electrical problems in an RV. Inspect all wiring and connections, paying close attention to any signs of fraying, melting, or corrosion. Make sure all connections are secure and tight. If you identify any damaged wiring, it’s best to consult a professional for repairs to avoid electrical hazards.
5. Seek Professional Help
If you’re unable to identify or resolve the electrical problem on your own, it’s advisable to seek professional help. Certified RV technicians have the expertise and experience to diagnose complex electrical issues and perform necessary repairs. Hiring a professional can ensure the safety and reliability of your RV electrical system.
Remember, troubleshooting RV electrical problems requires caution and attention to safety. If you’re unsure about how to proceed or encounter a potentially dangerous situation, it’s always best to consult a professional.
With the right knowledge and troubleshooting techniques, you can quickly diagnose and address common RV electrical problems. By promptly resolving these issues, you’ll ensure a reliable and efficient electrical system for your RV adventures.
| Common RV Electrical Problems | Possible Causes | Troubleshooting Steps |
|---|---|---|
| Flickering lights | Loose connections, faulty bulbs | Check and tighten connections, replace faulty bulbs |
| Outlets not working | Tripped circuit breaker, faulty outlet | Reset circuit breaker, inspect and replace faulty outlets |
| Appliances malfunctioning | Electrical overload, faulty appliance | Check wattage usage, unplug unnecessary appliances, consult appliance manual |
| Recurrent blown fuses | Short circuit, electrical overload | Inspect and repair or replace damaged wiring, redistribute electrical load |
Proper Maintenance of Other Electrical Components
In addition to the battery, there are various other electrical components in your RV that require regular maintenance to ensure optimal performance and longevity. By taking good care of these components, you can avoid potential issues and enjoy uninterrupted power during your RV adventures.
Inspect and Clean Battery Plus Terminals
One important aspect of maintaining your RV’s electrical system is regularly inspecting and cleaning the battery plus terminals. Over time, corrosion can build up on the terminals, hindering proper electrical connections and affecting the overall performance of your system. Use a mixture of baking soda and water to clean the terminals and ensure a clean and secure connection.
Follow Manufacturer’s Recommendations for Engine and Chassis Maintenance
Your RV’s engine and chassis also play a crucial role in the electrical system’s performance. It’s essential to follow the manufacturer’s recommendations for maintenance, including regular oil changes and filter replacements. These maintenance tasks will not only keep your engine running smoothly but also contribute to the overall health of your electrical components.
Service Your RV Generator According to Schedule
If your RV is equipped with a generator, make sure to service it regularly according to the recommended schedule. Generators are responsible for providing power when you’re not connected to an external source, and proper maintenance will ensure their reliability. Follow the manufacturer’s instructions for oil changes, filter replacements, and any other necessary maintenance tasks.
Take Care of Your RV’s Water Heater, Slideouts, Awnings, and Tanks
Other electrical components in your RV, such as the water heater, slideouts, awnings, and tanks, also require attention. Regularly inspect these components for any signs of wear or damage. Lubricate moving parts and mechanisms as necessary to ensure smooth operation. Proper care and maintenance of these components will contribute to the overall efficiency and functionality of your RV’s electrical system.
| Electrical Component | Maintenance Recommendations |
|---|---|
| Water Heater | Flush and clean the tank regularly. Check for leaks and replace any faulty parts. |
| Slideouts | Clean and lubricate slideout mechanisms. Inspect for proper alignment and adjust if necessary. |
| Awnings | Inspect for tears or damage. Clean and lubricate the awning mechanism. Replace any worn-out parts. |
| Tanks (freshwater, gray water, black water) | Regularly clean and sanitize the tanks. Check for leaks and ensure proper drainage. |
By prioritizing the maintenance of these electrical components, you can ensure that your RV’s electrical system functions optimally and provides reliable power throughout your travels.
The Benefits of Solar Charging
When it comes to powering your RV, considering the benefits of solar charging can be a game-changer. Not only does solar charging offer an eco-friendly solution, but it also provides a reliable and sustainable way to keep your RV battery charged throughout your adventures on the road. By harnessing the power of the sun, you can enjoy the freedom of traveling without relying solely on traditional charging methods.
One of the key advantages of solar charging is its environmental friendliness. By utilizing solar panels on your RV’s roof, you can tap into the abundant sunlight and convert it into clean electricity. This not only reduces your carbon footprint but also helps protect the planet for future generations.
Another benefit of solar charging is the self-sufficiency it offers. With solar panels installed, you can generate your own power, allowing you to camp in remote areas without access to electrical hookups. This newfound independence gives you the freedom to explore off-grid locations while still enjoying the comforts of electricity.
To ensure efficient solar charging, it’s essential to use solar charge controllers. These controllers regulate the charging process, preventing overcharging or undercharging of your RV battery. This not only extends the lifespan of your battery but also optimizes its performance, ensuring you have reliable power whenever you need it.
Investing in RV solar panels and incorporating solar charging into your electrical system is a smart long-term investment. While the initial cost may be higher than traditional charging methods, the potential savings in the long run can be substantial. By reducing your reliance on campground fees and generator usage, you can save money while enjoying the convenience of clean, renewable energy.
So, why not take advantage of all the benefits that solar charging has to offer? Embrace the power of the sun and unlock a new level of freedom and sustainability for your RV adventures.
Conclusion
By implementing proactive RV electrical system care, including regular inspection, maintenance, proper charging and discharging, storage and temperature control, energy-efficient practices, troubleshooting, and maintenance of other electrical components, you can ensure the longevity and optimal performance of your RV’s electrical system. Taking these steps will help you avoid potential issues and extend the lifespan of your RV’s electrical components, ultimately providing reliable power for your adventures on the road.
Additionally, considering the benefits of solar charging as an eco-friendly option for keeping your battery charged can further enhance your RV electrical system. Installing solar panels on your RV’s roof and using solar charge controllers can help regulate the charging process and prevent overcharging or undercharging, contributing to the overall health and longevity of your RV electrical system.
Remember, proactive RV electrical system care, regular maintenance, and adherence to proper charging and discharging practices are essential for ensuring the longevity, reliability, and optimal performance of your RV’s electrical system. By following these tips and tricks, you’ll be well-equipped to maintain a safe and efficient electrical system for your RV, allowing you to fully enjoy your adventures on the road.
FAQ
What is proactive RV electrical system care?
Proactive RV electrical system care involves regularly inspecting, maintaining, and troubleshooting your RV’s electrical components to ensure proper functioning and avoid potential issues.
How can I properly care for my RV battery?
To care for your RV battery, you should regularly inspect the battery case, clean the terminal connections, monitor water levels in flooded cell batteries, and use battery disconnect switches to prevent drain when not in use.
What are the characteristics of an RV battery?
An RV battery has components such as the battery case, electrolyte, positive and negative plates, separators, and terminal posts. It also has characteristics like capacity, discharge rate, cycle life, and self-discharge rate.
What should I do to properly charge and discharge my RV battery?
It is important to use chargers specifically designed for your battery type, follow the manufacturer’s recommendations for charging voltage and current, and avoid overcharging or undercharging the battery.
How should I store my RV battery?
When storing your RV battery, disconnect it from the electrical system, store it in a cool, dry location away from direct sunlight, and consider using a battery maintainer or trickle charger to maintain the charge level.
How can I make my RV electrical system more energy efficient?
To make your RV electrical system more energy efficient, you can use energy-efficient LED lighting, calculate the power requirements of your appliances and electronics, and consider energy-efficient cooling and heating options.
How can I troubleshoot common RV electrical problems?
To troubleshoot common RV electrical problems, you should learn how to test your RV battery’s health using a voltmeter, clean and maintain battery terminals, and familiarize yourself with signs that indicate it’s time to replace the battery.
What other electrical components in my RV require maintenance?
It is important to regularly inspect and clean battery plus terminals, follow manufacturer’s recommendations for maintaining the engine and chassis, service the RV generator according to schedule, and take care of other components like the water heater, slideouts, awnings, and tanks.
What are the benefits of solar charging for my RV battery?
Solar charging systems offer an eco-friendly way to keep your RV battery charged. By installing solar panels on your RV’s roof and using solar charge controllers, you can harness sunlight and convert it into electricity while preventing overcharging or undercharging.
Why is proactive RV electrical system care important?
Proactive RV electrical system care is important because it helps maintain the longevity and optimal performance of your RV’s electrical system, ensuring reliable power for your adventures on the road.

