Proper battery care is crucial for RV owners to ensure they have power when needed. Whether you’re embarking on a weekend getaway or a long-distance road trip, keeping your RV batteries in top condition is essential for a hassle-free travel experience.
RV battery care may seem daunting, but with a few simple maintenance tips, you can easily extend the lifespan of your batteries and avoid unexpected power failures. In this article, we will guide you through the easy steps to maintain your RV batteries and keep them performing at their best.
Key Takeaways:
- Regularly clean your RV batteries to prevent corrosion and ensure optimal performance.
- For flooded lead-acid batteries, check and refill the water levels as recommended by the manufacturer.
- Properly store your RV batteries during periods of non-use, particularly in winter.
- Follow the correct charging and discharging procedures to prevent damage to your batteries.
- By taking proper care of your RV batteries, you can extend their lifespan and enjoy worry-free adventures.
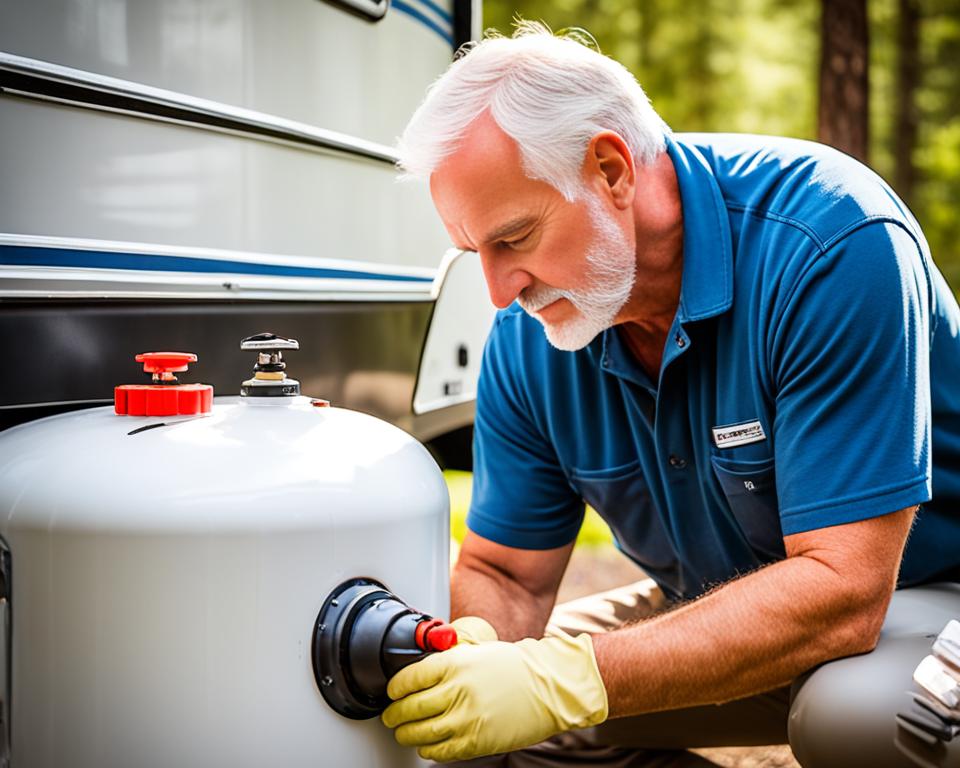
Cleaning Your RV Batteries
Cleaning your RV batteries is an essential part of regular maintenance to ensure their optimal performance and longevity. By keeping your batteries clean, you can prevent corrosion and improve their overall efficiency. Follow these simple steps to effectively clean your RV batteries:
- Disconnect the Batteries: Before starting the cleaning process, ensure that the batteries are disconnected from any power source or devices to avoid any potential electrical accidents.
- Create a Cleaning Solution: Mix a solution of baking soda and water in a ratio of 1/4 cup baking soda to 1 quart of water. This solution will help neutralize any acid residue on the battery terminals.
- Apply the Solution: Using a spray bottle, apply the baking soda and water solution generously onto the battery terminals. Make sure to cover all visible areas of the terminals.
- Let it Sit: Allow the cleaning solution to sit on the battery terminals for a few minutes. This will give it time to penetrate and break down any built-up dirt and corrosion.
- Wipe Down the Terminals: After letting the solution sit, use a clean cloth or sponge to wipe down the battery terminals. Gently scrub the terminals to remove any stubborn dirt or corrosion. Make sure to pay attention to all the nooks and crannies.
- Remove Corrosion: If you notice any corrosion that is difficult to remove with a cloth or sponge, use a battery terminal cleaning brush. This specialized brush is designed to effectively remove tough corrosion from battery terminals.
Remember, safety is of utmost importance when cleaning your RV batteries. Always wear protective gloves and eyewear to prevent any contact with corrosive materials. Additionally, ensure proper ventilation in the area where you are performing the cleaning process.
Cleaning your RV batteries regularly will not only help maintain their functionality but also contribute to the overall performance of your RV’s electrical system. Make it a part of your routine maintenance schedule to keep your batteries in optimal condition for your next adventure.
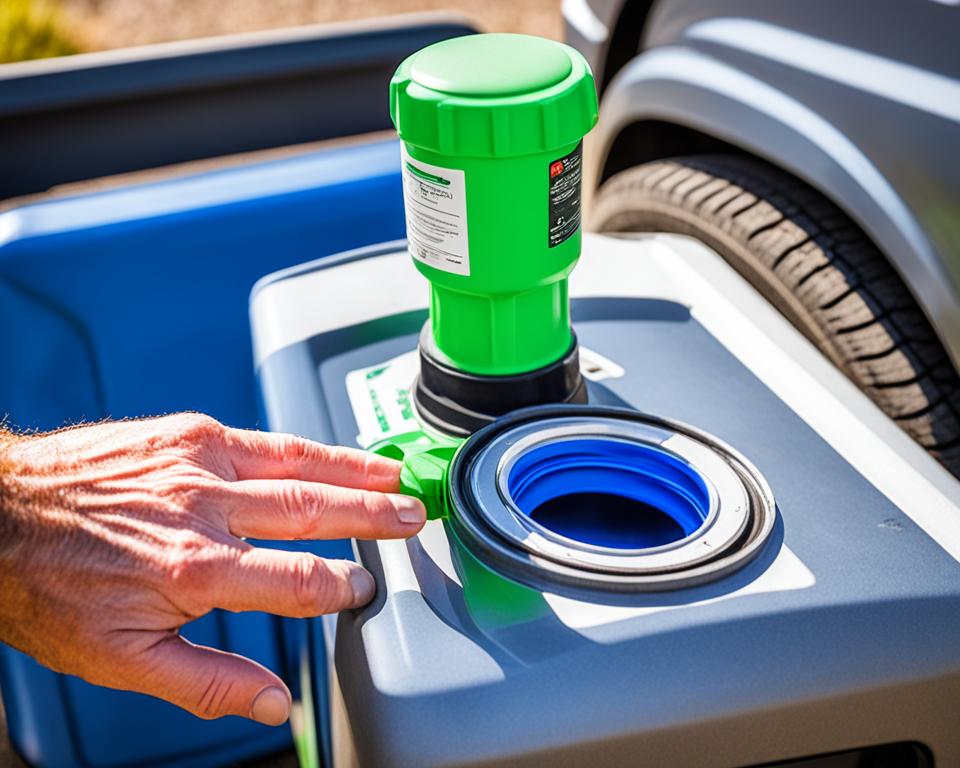
Refilling RV Batteries (Flooded Lead-Acid Only)
If you have a flooded lead-acid battery in your RV, proper maintenance includes regularly checking the water level and refilling it as needed with de-ionized and distilled water. This simple task can help prolong the life of your battery and ensure optimal performance.
Here are some steps to follow when refilling your flooded lead-acid RV battery:
- First, make sure you are working in a well-ventilated area to avoid inhaling any harmful gases released during the battery maintenance process.
- Next, carefully remove the vent caps from the top of the battery. These caps allow gases to escape and must be removed before accessing the battery cells.
- Using a flashlight, inspect the water level in each battery cell. The water level should be above the battery plates, but not overflowing.
- If the water level is low, use a funnel to pour de-ionized and distilled water into each cell until the plates are fully submerged. Avoid using tap water, as it may contain impurities that could damage the battery.
- Be careful not to overfill the cells; leave some space for expansion as the battery heats up during use.
- Once all the cells have been refilled, carefully reinsert the vent caps onto the battery.
- It’s essential to follow any specific instructions provided by the battery manufacturer regarding water levels and maintenance. These instructions will ensure the best performance and longevity of your flooded lead-acid RV battery.
Regularly checking and refilling the water level in your flooded lead-acid RV battery is an essential part of battery maintenance. By following these simple steps, you can ensure your battery operates optimally and lasts for many years to come.
Flooded Lead-Acid Battery Maintenance Tips:
Here are some additional tips to keep your flooded lead-acid RV battery in good condition:
- Keep the battery clean and free from dirt, debris, and corrosion. Regularly check the battery terminals and clean any corrosion with a battery terminal cleaning brush.
- Ensure that the battery is securely fastened in its mounting location to prevent vibrations and damage during travel.
- Avoid discharging your battery below 50% capacity whenever possible. Deep discharging can shorten the battery’s lifespan.
- Regularly charge your battery using a suitable RV battery charger. Follow the manufacturer’s recommendations for charging voltage and duration.
- Inspect the battery for any signs of damage, leakage, or bulging. If you notice any issues, it is advisable to have the battery professionally inspected or replaced.
By following these maintenance tips, you can ensure your flooded lead-acid RV battery stays in excellent condition and provides you with reliable power during your adventures on the road.

Advantages of Flooded Lead-Acid Batteries:
“Flooded lead-acid batteries are a popular choice for RV owners due to their lower cost compared to other battery types. They also have a long history of reliability and are well-suited for deep-cycle applications.” – RV Battery Experts
Flooded lead-acid batteries offer several advantages for RV owners:
| Advantages | Disadvantages |
|---|---|
| Lower cost compared to other battery types | Require regular maintenance |
| Long lifespan with proper maintenance | Can release toxic gases and require proper ventilation |
| Easy to find and replace | Can be heavy and require adequate support |
While flooded lead-acid batteries require more maintenance compared to sealed batteries, they remain a popular and reliable choice for many RV enthusiasts. By properly maintaining and refilling these batteries, you can enjoy a consistent power supply for your RV adventures.
Storing RV Batteries
Properly storing your RV batteries is crucial, especially during the winter months. Taking the time to prepare your batteries for storage can help prolong their lifespan and ensure they are ready to power your adventures when spring comes around.
Disconnect and Prepare
To begin the storage process, disconnect the positive and negative battery leads. This will prevent any residual electrical drain while the batteries are not in use. Next, remove the batteries from their mountings and clean the terminals and the surrounding area. Use a mixture of baking soda and water to remove any corrosion or buildup on the terminals. This step will help maintain the integrity of the battery connections and prevent any potential damage.
Charge and Check
Before storing your RV batteries, it is crucial to fully charge them. This ensures that the batteries are at their optimal state and ready to go. Additionally, check the electrolyte levels in flooded lead-acid batteries and add distilled water if necessary. This step helps prevent the batteries from drying out during the storage period.
Find the Right Spot
Selecting the right storage location for your RV batteries is essential. Choose a cool, dry place away from extreme temperatures and direct sunlight. Excessive heat can cause the batteries to degrade, while freezing temperatures can damage them. Store the batteries off the ground on a clean, dry surface to prevent any moisture buildup.
Regular Monitoring
Even in storage, it’s important to check the charge of your batteries every 30 days. This helps ensure that the batteries maintain their charge and avoid discharging completely. If needed, recharge the batteries during the storage period to maintain their optimal performance.
By following these RV battery storage tips, you can protect your investment and ensure that your batteries are in good condition when it’s time to hit the road again.
Charging and Discharging RV Batteries
Proper charging and discharging of your RV batteries are essential for ensuring optimal performance and extending their lifespan. By following best practices and understanding the different stages of RV battery charging, you can maximize their efficiency and avoid premature battery failure.
Charging RV Batteries
To maintain the health of your RV batteries, it’s important to avoid discharging them past 50% of their capacity. This means that once your battery reaches the 50% threshold, it’s time to recharge. Discharging your batteries beyond this point can lead to sulfation and irreversible damage.
When charging your RV batteries, it’s recommended to use a stage-charging process consisting of three stages: bulk charging, absorption charging, and float charging.
- Bulk Charging: During this initial stage, the charger delivers a high current to rapidly recharge the battery and bring it to about 80% capacity. This stage is characterized by a higher voltage, which ensures faster charging. It is typically the quickest part of the charging process.
- Absorption Charging: Once the battery reaches around 80% capacity, the charger reduces the charging voltage to a lower level. This allows for a slower and gentler charging process, during which the battery absorbs additional charge until it reaches nearly full capacity. This stage helps balance the charge across the battery cells.
- Float Charging: The final stage of the charging process involves maintaining a float or maintenance voltage to keep the battery fully charged without causing overcharging. This stage helps prevent sulfation and ensures the battery is ready for use whenever needed.
It’s important to note that overcharging can be detrimental to your RV batteries, so it’s essential to monitor the charging process and avoid leaving the batteries connected to the charger for extended periods beyond the float charging stage.
Discharging RV Batteries
While charging ensures your RV batteries are ready for use, proper discharging is equally important for maintaining battery health. Avoid prolonged periods of disuse without recharging, as this can lead to sulfation and decrease battery performance.
It’s recommended to maintain a minimum voltage of 10.5 volts to ensure your batteries stay in good condition. This threshold allows for a safe level of discharge without damaging the battery cells. Monitoring the voltage regularly will help you determine when it’s time to recharge your RV batteries.
“Proper charging and discharging of RV batteries is crucial for maximizing their lifespan and ensuring reliable power on your travels.”
Remember to consider the ambient temperature when charging and discharging your RV batteries. Extreme heat or cold can affect battery performance and shorten their lifespan. If possible, keep your batteries in a temperature-controlled environment to minimize the impact of temperature fluctuations.

In the next section, we will discuss the lifespan of RV batteries and explore ways to extend their longevity through regular maintenance and proper care.
How Long Do RV Batteries Last?
RV battery lifespan is an important consideration for every RV owner. Knowing how long your batteries can last and how to extend their life can help ensure a reliable power source during your adventures.
With proper care and maintenance, deep-cycle RV batteries can last for 6 or more years. Regular maintenance, such as cleaning, charging, and storing, is essential for maximizing their lifespan. By following these tips, you can help extend the life of your RV batteries and avoid unexpected power failures on the road.
Maintenance Tips for Extending RV Battery Life:
- Keep your batteries clean: Regularly clean the battery terminals and connections to prevent corrosion and ensure proper power flow.
- Charge your batteries correctly: Avoid discharging your batteries past 50% of their capacity and maintain a minimum voltage of 10.5 volts. Use a stage-charging method, including bulk, absorption, and float charging, to optimize battery health.
- Store your batteries properly: If you’re not using your RV for an extended period, store your batteries in a cool, dry place and check their charge every 30 days. Disconnect the positive and negative leads, clean the terminals, and fully charge the batteries before storing.
- Prevent sulfation: Sulfation is a common cause of battery failure. To prevent sulfation, avoid leaving your batteries discharged for long periods and consider using a battery maintenance system with desulfation capabilities.
- Monitor depth-of-discharge: Keeping track of how deeply you discharge your batteries can help prolong their lifespan. Avoid frequently discharging your batteries below 50% and recharge them as soon as possible.
Following these maintenance tips can significantly extend the lifespan of your RV batteries and ensure they provide reliable power for your travels. By taking care of your batteries, you’ll have peace of mind knowing that you’ll have power whenever you need it.
| RV Battery Maintenance Tips | Benefits |
|---|---|
| Regular cleaning | Prevents corrosion and ensures optimal power flow |
| Correct charging practices | Maximizes battery life and maintains optimal performance |
| Proper storage | Preserves battery capacity and prevents damage during periods of non-use |
| Preventing sulfation | Minimizes battery failure and extends lifespan |
| Monitoring depth-of-discharge | Prolongs battery life by avoiding excessive discharge |
By implementing these maintenance practices and taking precautions to extend the life of your RV batteries, you can enjoy worry-free travels and power your adventures for years to come.
Top Tips for Extending RV Battery Life
To ensure your RV battery lasts as long as possible, it’s important to follow these maintenance tips:
- Keep it clean: Regularly clean your RV battery to remove dirt, grime, and corrosion that can affect its performance. Use a mixture of baking soda and water to gently scrub the battery terminals and connections. Rinse with clean water and dry thoroughly.
- Store it properly: When not in use, store your RV battery in a cool and dry place. Extreme temperatures can impact the battery’s lifespan, so avoid leaving it in direct sunlight or exposed to freezing temperatures. Insulate the battery during winter months to prevent unnecessary discharge.
- Use a battery maintenance system: Invest in a battery maintenance system or a smart charger that can monitor and maintain the charge of your RV battery. These devices can prevent overcharging, sulfation, and other issues that can reduce battery lifespan.
- Choose the right battery for your RV: Consider the power requirements and usage patterns of your RV when selecting a battery. Different RVs have different needs, so choose a battery with the appropriate capacity and technology, such as lithium-ion or AGM batteries, that can better suit your needs.
- Charge it regularly: Regularly recharge your RV battery, especially after periods of inactivity or discharging. Maintaining a healthy charge level helps prevent deep discharge and sulfation, both of which can significantly reduce the battery’s lifespan.
By following these tips, you can optimize the performance and lifespan of your RV battery, ensuring it provides reliable power for your adventures on the road.
Importance of RV Battery Maintenance
Proper RV battery maintenance is crucial to ensure a reliable power source during your travels. Neglecting battery care can lead to power failures and inconvenience, jeopardizing your overall camping experience. By following simple maintenance tips and best practices, you can avoid battery issues and enjoy worry-free adventures.
The Benefits of RV Battery Care
Regular RV battery maintenance offers a range of benefits that contribute to the smooth operation of your recreational vehicle:
- Reliability: Consistently caring for your RV battery ensures a dependable power source, keeping you connected and powered up throughout your trip.
- Longevity: Proper maintenance extends the lifespan of your RV battery, saving you money on premature replacements.
- Cost Savings: Maintaining your battery’s health reduces the likelihood of unexpected breakdowns or the need for emergency repairs.
- Prolonged Usability: Well-maintained batteries provide optimal performance, allowing you to use electrical appliances and systems without limitations.
Why RV Battery Maintenance is Necessary
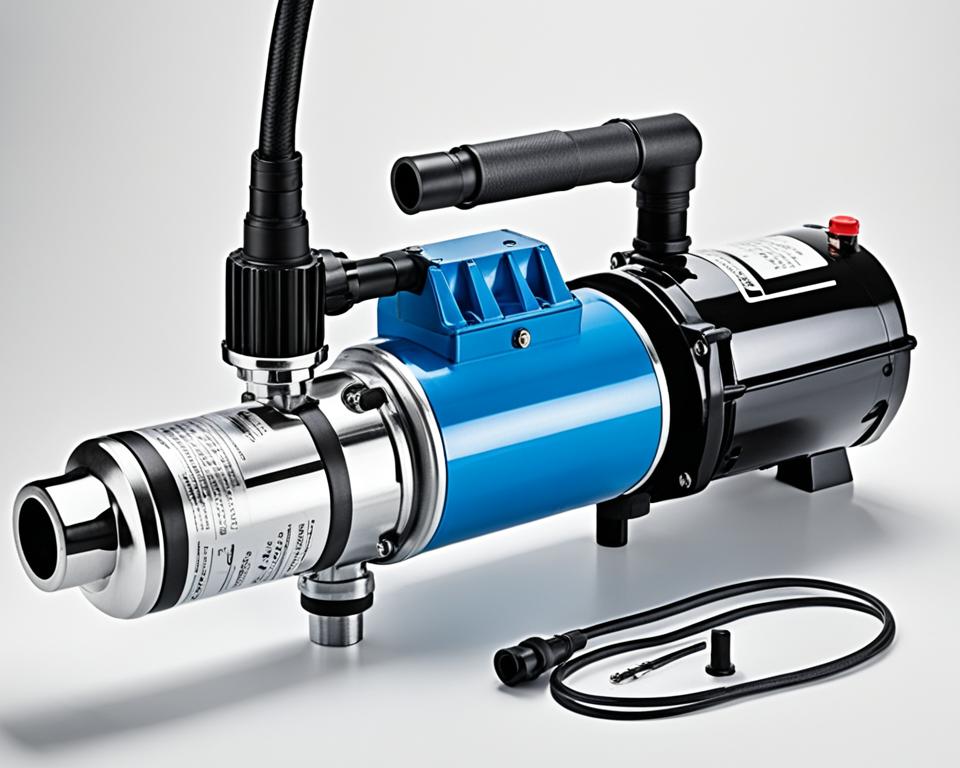
An RV battery is not just an ordinary battery; it’s an essential component that powers various systems and appliances in your vehicle, such as the lights, water pump, refrigerator, and even the slide-outs. Without proper maintenance, the battery’s performance may deteriorate, leading to frequent power fluctuations, reduced battery life, and potential system failures.
“Regular RV battery maintenance is like preventive medicine for your vehicle’s power source. It keeps your battery in optimal condition, preventing issues before they occur.”
By dedicating some time to RV battery care, you significantly improve your camping experience and ensure a hassle-free getaway. From cleaning and inspecting battery terminals to checking water levels and charging routines, following proper maintenance practices will maximize your battery’s performance and allow you to fully enjoy your adventures on the road.
| RV Battery Maintenance Tips |
|---|
| 1. Regularly clean battery terminals and remove corrosion to maintain good electrical connections. |
| 2. Check the water level in flooded lead-acid batteries and replenish with distilled water as needed. |
| 3. Store RV batteries in a cool, dry place and monitor their charge every 30 days during storage. |
| 4. Avoid overcharging or discharging batteries excessively to prevent damage. |
| 5. Choose the right battery type for your RV’s power requirements to maximize performance and longevity. |
Conclusion
Taking care of your RV batteries doesn’t have to be complicated. By following these easy maintenance tips, you can extend the lifespan of your batteries and enjoy a worry-free camping experience. Remember to clean your batteries, refill if necessary, store them properly, charge and discharge them correctly, and choose the right battery for your RV. With these simple steps, you can ensure your RV batteries are always ready to power your adventures.
Regular cleaning of your RV batteries helps to prevent corrosion and maintain their performance. Use a solution of baking soda and water to clean the battery terminals and remove any built-up corrosion using a battery terminal cleaning brush. This simple cleaning routine will help keep your batteries in optimal condition.
Additionally, for flooded lead-acid batteries, it’s important to regularly check and refill the water level with de-ionized and distilled water as needed. This ensures the electrolyte levels are adequate for proper battery function. Storing your RV batteries correctly, in a cool and dry place, and monitoring their charge every 30 days during storage can help prevent battery damage and prolong their lifespan.
Lastly, don’t forget to practice proper charging and discharging techniques. Avoid discharging your batteries below 50% capacity to prevent deep cycling, which can shorten battery life. Use a stage-charging process with bulk, absorption, and float charging for optimal battery health. Following these tips will help you maintain your RV batteries and enjoy worry-free camping adventures.
FAQ
What are the three main types of RV batteries?
The three main types of RV batteries are flooded lead-acid, sealed lead-acid (gel and AGM), and lithium-ion.
How do I clean my RV batteries?
To clean your RV batteries, mix a solution of baking soda and water, spray it on the battery terminals, let it sit for a few minutes, and then wipe them down. Use a battery terminal cleaning brush to remove any corrosion.
Do I need to refill my RV batteries?
If you have a flooded lead-acid battery in your RV, you should check the water level regularly and refill it with de-ionized and distilled water as needed.
How should I store my RV batteries?
Properly storing your RV batteries involves disconnecting the positive and negative leads, removing the battery, cleaning the terminals and mounting location, fully charging the battery, and storing it in a cool, dry place.
What should I consider when charging and discharging my RV batteries?
When charging your RV batteries, avoid discharging them past 50% of their capacity and maintain a minimum voltage of 10.5 volts. Use stage-charging with bulk, absorption, and float charging for optimal battery health.
How long do RV batteries last?
With proper care and maintenance, deep-cycle RV batteries can last for 6 or more years.
How can I extend the lifespan of my RV batteries?
To extend the lifespan of your RV batteries, keep them clean, store them properly, use a battery maintenance system, choose the right battery for your RV, and charge them regularly.
Why is RV battery maintenance important?
Proper RV battery maintenance is essential for ensuring a reliable power source during your travels and avoiding power failures and inconveniences.
What are some easy RV battery maintenance tips?
Easy RV battery maintenance tips include cleaning your batteries, refilling if necessary, storing them properly, charging and discharging them correctly, and choosing the right battery for your RV.